¶ Deployment Options for Exium's Unified SASE-XDR Client Agent
Exium offers versatile agent deployment options that can be implemented with or without Remote Monitoring and Management (RMM), as illustrated in the figure below. Our platform, admin console, and dashboards support all three deployment strategies, allowing you to select the approach that best meets your needs or even combine them. Whatever your starting point, Exium is committed to providing guidance at every stage.
¶ Option 1: User Install Approach:
This method is optimized for deploying the client on mobile devices such as iOS, Android, and Chromebooks. It's also suitable for BYOD, initial testing and proofs of concept on Windows, Mac, and Linux devices. In this approach, IT administrators initiate an email to users with instructions for downloading and activating the agent as they are added to Exium's workspace admin console. Please see the guide for full details: User Install Instructions.
¶ Option 2: RMM-Based Approaches:
In the second and third methods, the Exium agent is deployed to endpoints with the click of a button via RMM. The second option is fully automated, requiring no further action from the MSP IT admin. However, in this scenario, security policies are enforceable only at the endpoint or device level, with user information accessible in Exium's admin console. Please see the guide for full details: Device-Based Activation using RMM Deployment.
¶ Option 3: User-Based Approach including Enhanced User Linking:
The third method involves an additional step to link user identities with their devices. This can be achieved in one of three ways:
- a) By incorporating user information in the RMM deployment script,
- b) By requiring users to authenticate through Multi-Factor Authentication (MFA) using Azure AD or similar services to activate the Exium service on their endpoint,
- c) By uploading a CSV file that associates user identities with devices in the Exium Admin console.
Please see the guide for full details: User-Based Activation using RMM Deployment.
¶ Locating RMM Deployment Scripts:
To access the deployment scripts, follow these steps:
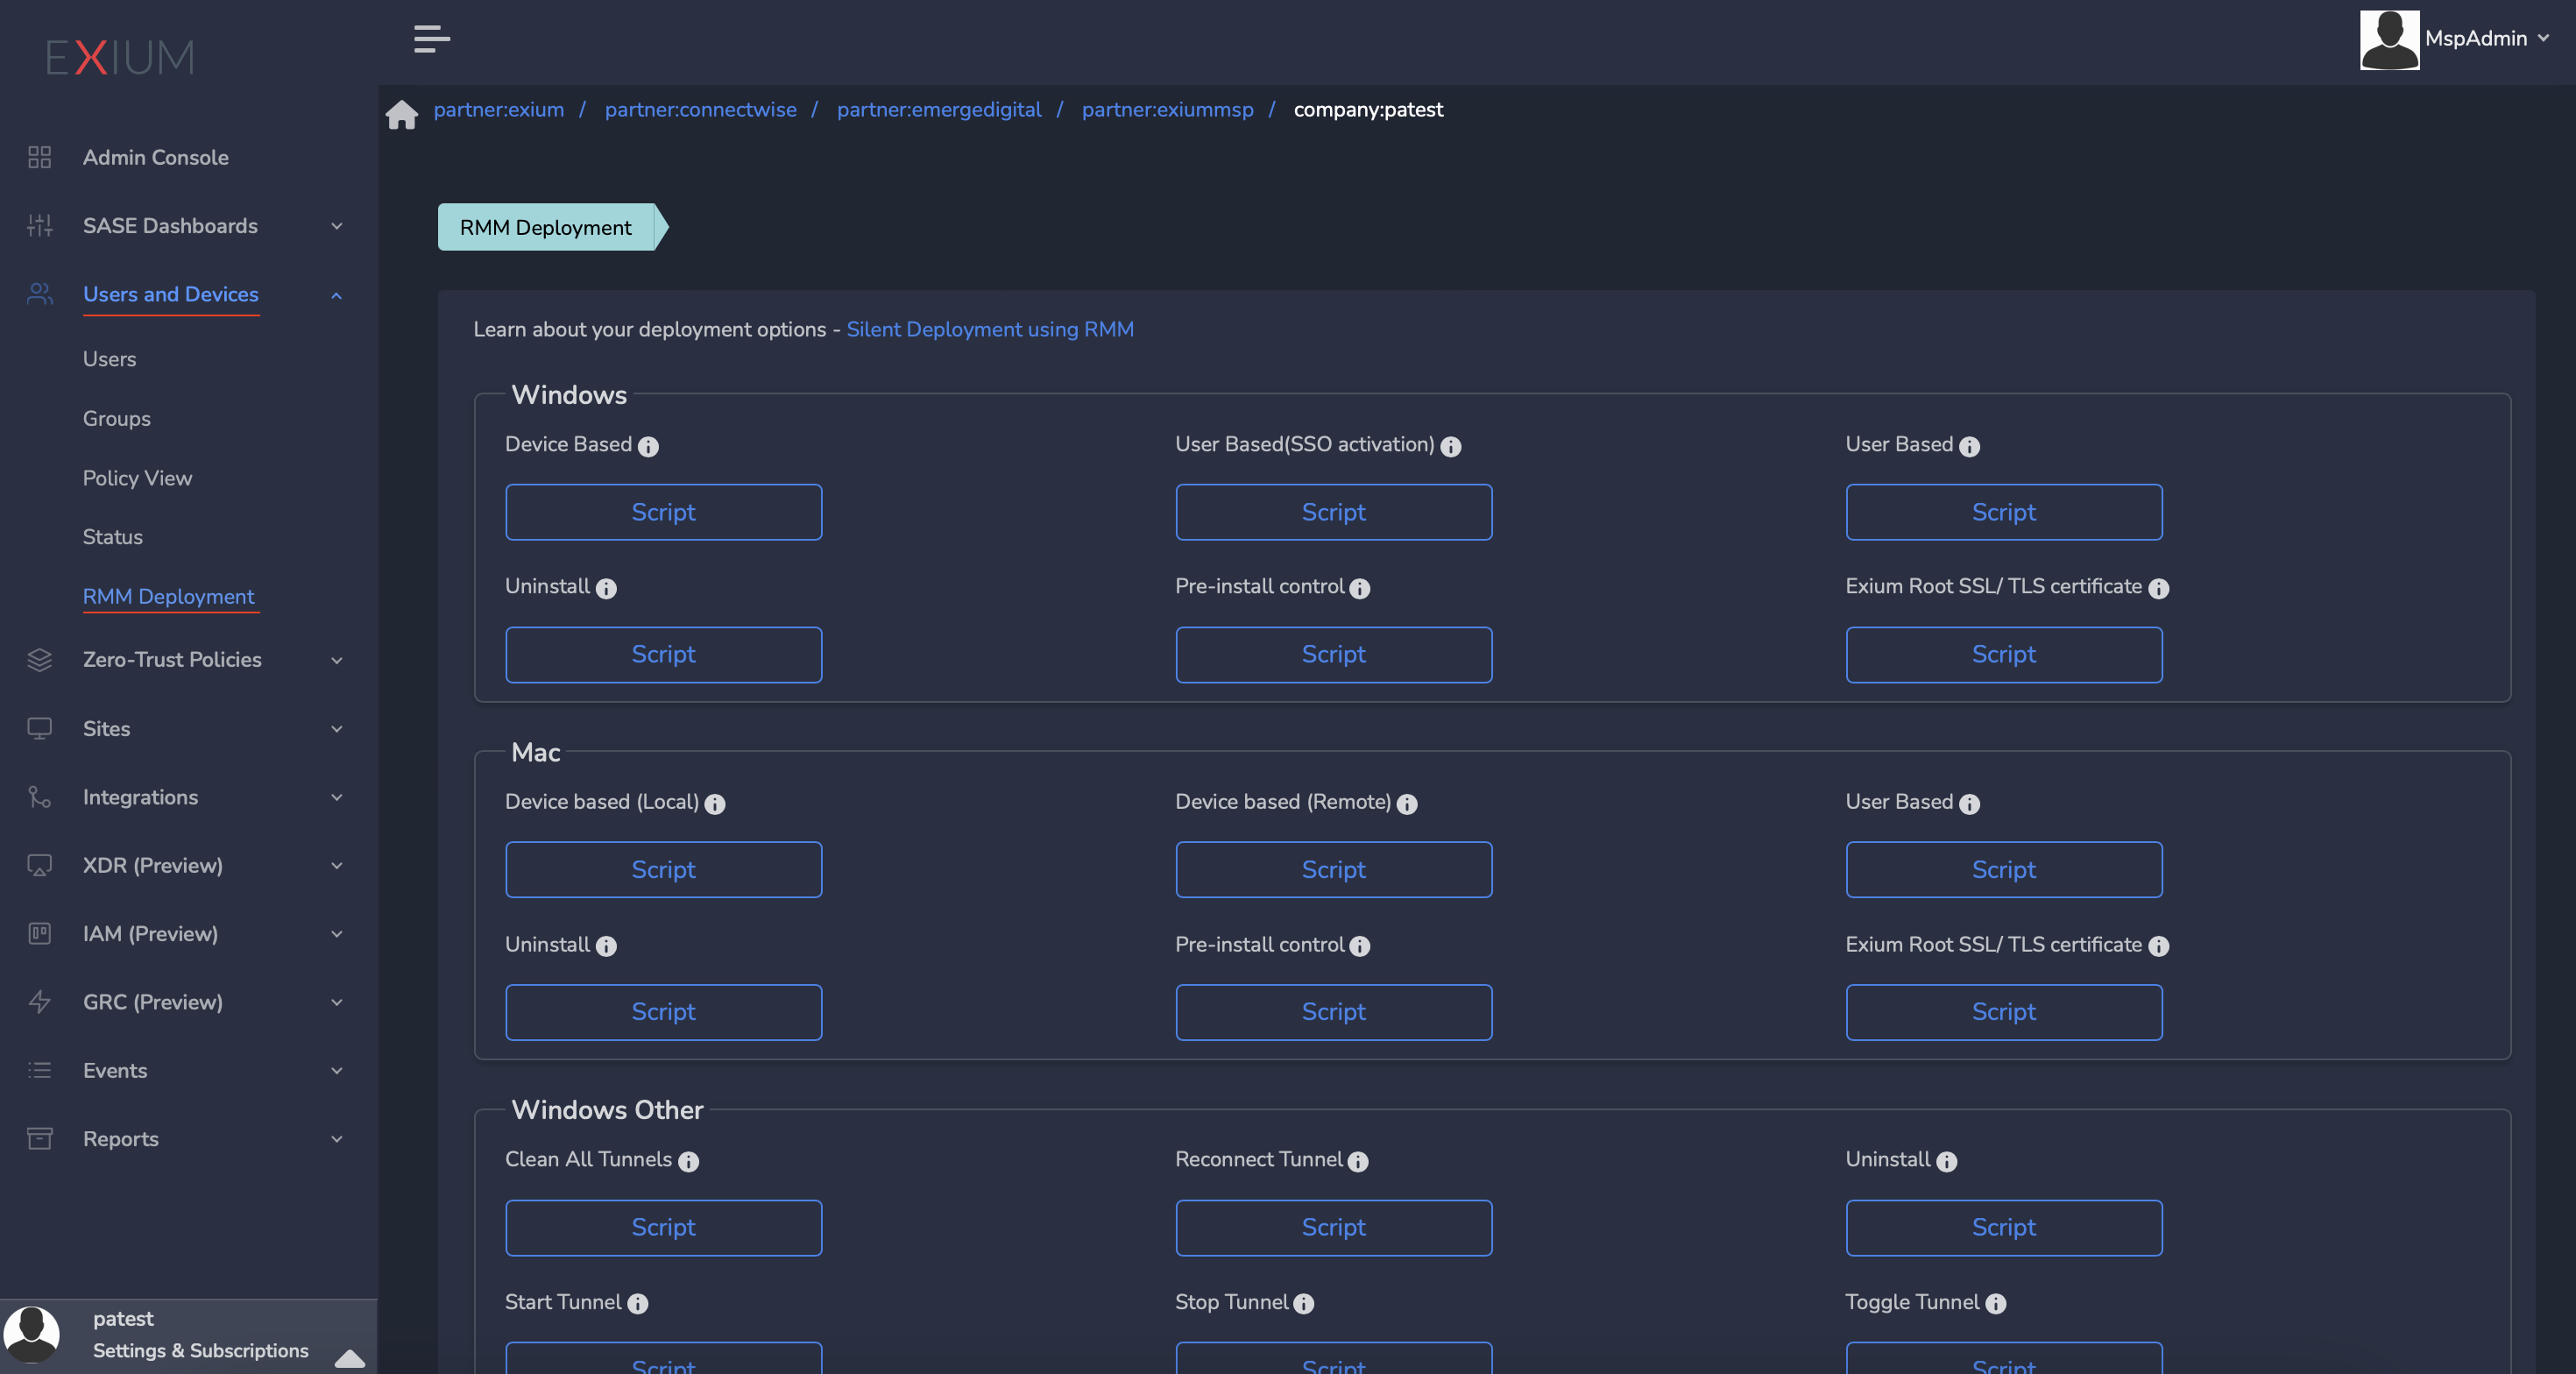
- Navigate to the MSP admin console , then to Companies, and click on the company name (or directly access the Customer/ Client Workspace Sign In).
- In the Workspace Admin console, select "Users and Devices" from the left menu bar.
- Click on "Script" to choose the deployment method and device types you wish to deploy on.

¶ Enabling User Controls
In certain silent deployment scenarios, MSPs may wish to grant users the ability to turn the Exium service ON or OFF. To enable this feature, follow these steps:
- Navigate to the MSP admin console → Companies → Click on Company name (or directly go to the Customer/ Client Workspace Sign In)
- Click on Settings and then select Advanced.
- Toggle the “Enable User Controls” switch to “Yes” (refer to the screenshot below).
- Click “Update” to save your settings.
Once "User Controls" are enabled, users will see the Exium desktop app and a system tray icon on their devices after the client installation (remotely). They can then easily turn the Exium service ON or OFF by clicking either the desktop app or the system tray icon.
¶ Agent Deployment Instructions
Please follow the instructions to deploy Exium agents using your preferred approach.
Option 1: User Install - Instructions in Email
Option 2: RMM - Device-based authentication and policy (Fully automated)
Option 3: RMM - User identity to device binding for user level authentication and policy
Table below compares the agent deployment options:
| Option 1 | Option 2 | Option 3 | |
|---|---|---|---|
| Who installs the agent? | User | RMM | RMM |
| Who activates the agent? | User | MSP | MSP/ User |
| Security policies | User-level | Device-level with logged in user information | User-level |
| Automation | Manual | Fully automated | Partially |
¶ Firewall ports
When the Client connects from the inside of the Firewall, you need to make sure the following outgoing ports are allowed in the Firewall.
|
Protocol |
Allow Outgoing Ports |
Allow Incoming Ports |
|---|---|---|
| UDP |
3478 51821-51850 |
None |
¶ Domains to whitelist
When the Client connects from the inside of the Firewall that support web filtering , You need to make sure Exium SASE domains are whitelisted in Firewall. For list of domains to whitelist please visit:
https://docs.exium.net/en/public/Platform/Exium-Domains
¶ Trouble Deploying Exium Agent?
Should you encounter any issues during the installation of the agent, it might be due to interference from antivirus/EDR security software or another VPN. Don't worry, we've got you covered! Check out our comprehensive guide to troubleshoot any problems you might face.
¶ What Software Modules Exium Agent Includes?
For a list of the security software modules that Exium installs as part of the Client package, please visit:
https://docs.exium.net/en/public/Clients/Software/Exium-Client-Software