¶ User-Based Activation of the Unified SASE Agent
To implement security policies at the user level, MSPs need to map and link individual users to the devices/endpoints secured by SASE. This involves an additional step, which can be accomplished using one of the following methods, all extensions of Approach 3 (User-Based Activation) from the RMM deployment options (illustrated below):
- Method 3A: Include user information in the RMM script at deployment time.
- Method 3B: After a single push-button RMM deployment, users authenticate via Azure AD or another SSO/MFA scheme.
- Method 3C: Upload a CSV file to the Exium Admin console, linking user identities to their devices, before the single push-button RMM deployment.

The instructions for deploying using these methods are outlined below. A hybrid approach is possible, allowing MSP admins to include user information in the script for some devices while not for others. For instance, user interaction with Azure AD MFA is only necessary for devices lacking user information from the RMM deployment. Similarly, if the CSV file uploaded to the Exium admin console does not cover all user-device mappings, the MSP IT admin can add missing user information directly into the RMM script, as per Method A.
¶ Local Client Activation for Preliminary Testing
You can execute any of the RMM deployment scripts locally on a machine for early testing. To do this:
- Click the Start button (Windows icon at the bottom-left), type "PowerShell", right-click on Windows PowerShell, and select "Run as administrator".
- In the PowerShell window that opens, paste and run the script chosen from one of the methods described above.
This approach allows you to test deployment configurations and ensure everything works smoothly before full-scale implementation.

¶ Method 3A: Include user information in the Script
In this approach, individual user information needs to be passed as additional input parameter. You may automate this process if you have information linking users to devices in your RMM system.
We have made it easy for you to copy the script for a user deployment. Note the script copied below can also be run locally with admin or root privilege on the machine to test before pushing it via RMM.
- Navigate to the MSP admin console -> Client Workspace
- Click on Users in the left menu bar
- Click on the icon with the down arrow sign next to the user as shown in the Figure below
- Select your device type (Windows, Mac, Linux etc.)
- Copy the script and push it to the user's device (or run locally on the machine for early testing)
Note the script you copy this way already has TOKEN, Workspace name and user name included. You do not need to modify the script as it is complete for deployment for a particular user.

¶ Illustration of Method 3B (using SSO/ MFA)
For illustration purposes, we present the flow for option 3b using Azure AD for user identity in the figure below. Here, the Exium agent is pushed to endpoints with a single button click in the RMM. In an additional step, users authenticate via SSO/ MFA (such as Azure AD) to activate the Exium service on their endpoints. SSO/MFA-based Please see the guide for full details: Authentication for Exium SASE Clients.

In this method, when the RMM script is pushed to the devices, it puts an “Exium App” on users' desktops. The users click on the App to authenticate via Azure AD/ MFA. Once a user is successfully authenticated, user's device registers with the SASE platform to automatically activate the service for the user.
¶ Getting and Running the Script
We have made it easy for you to copy the script for deployment. Note the script copied below can also be run locally with admin or root privilege on the machine to test before pushing it via RMM.
- Navigate to the MSP admin console -> Client Workspace
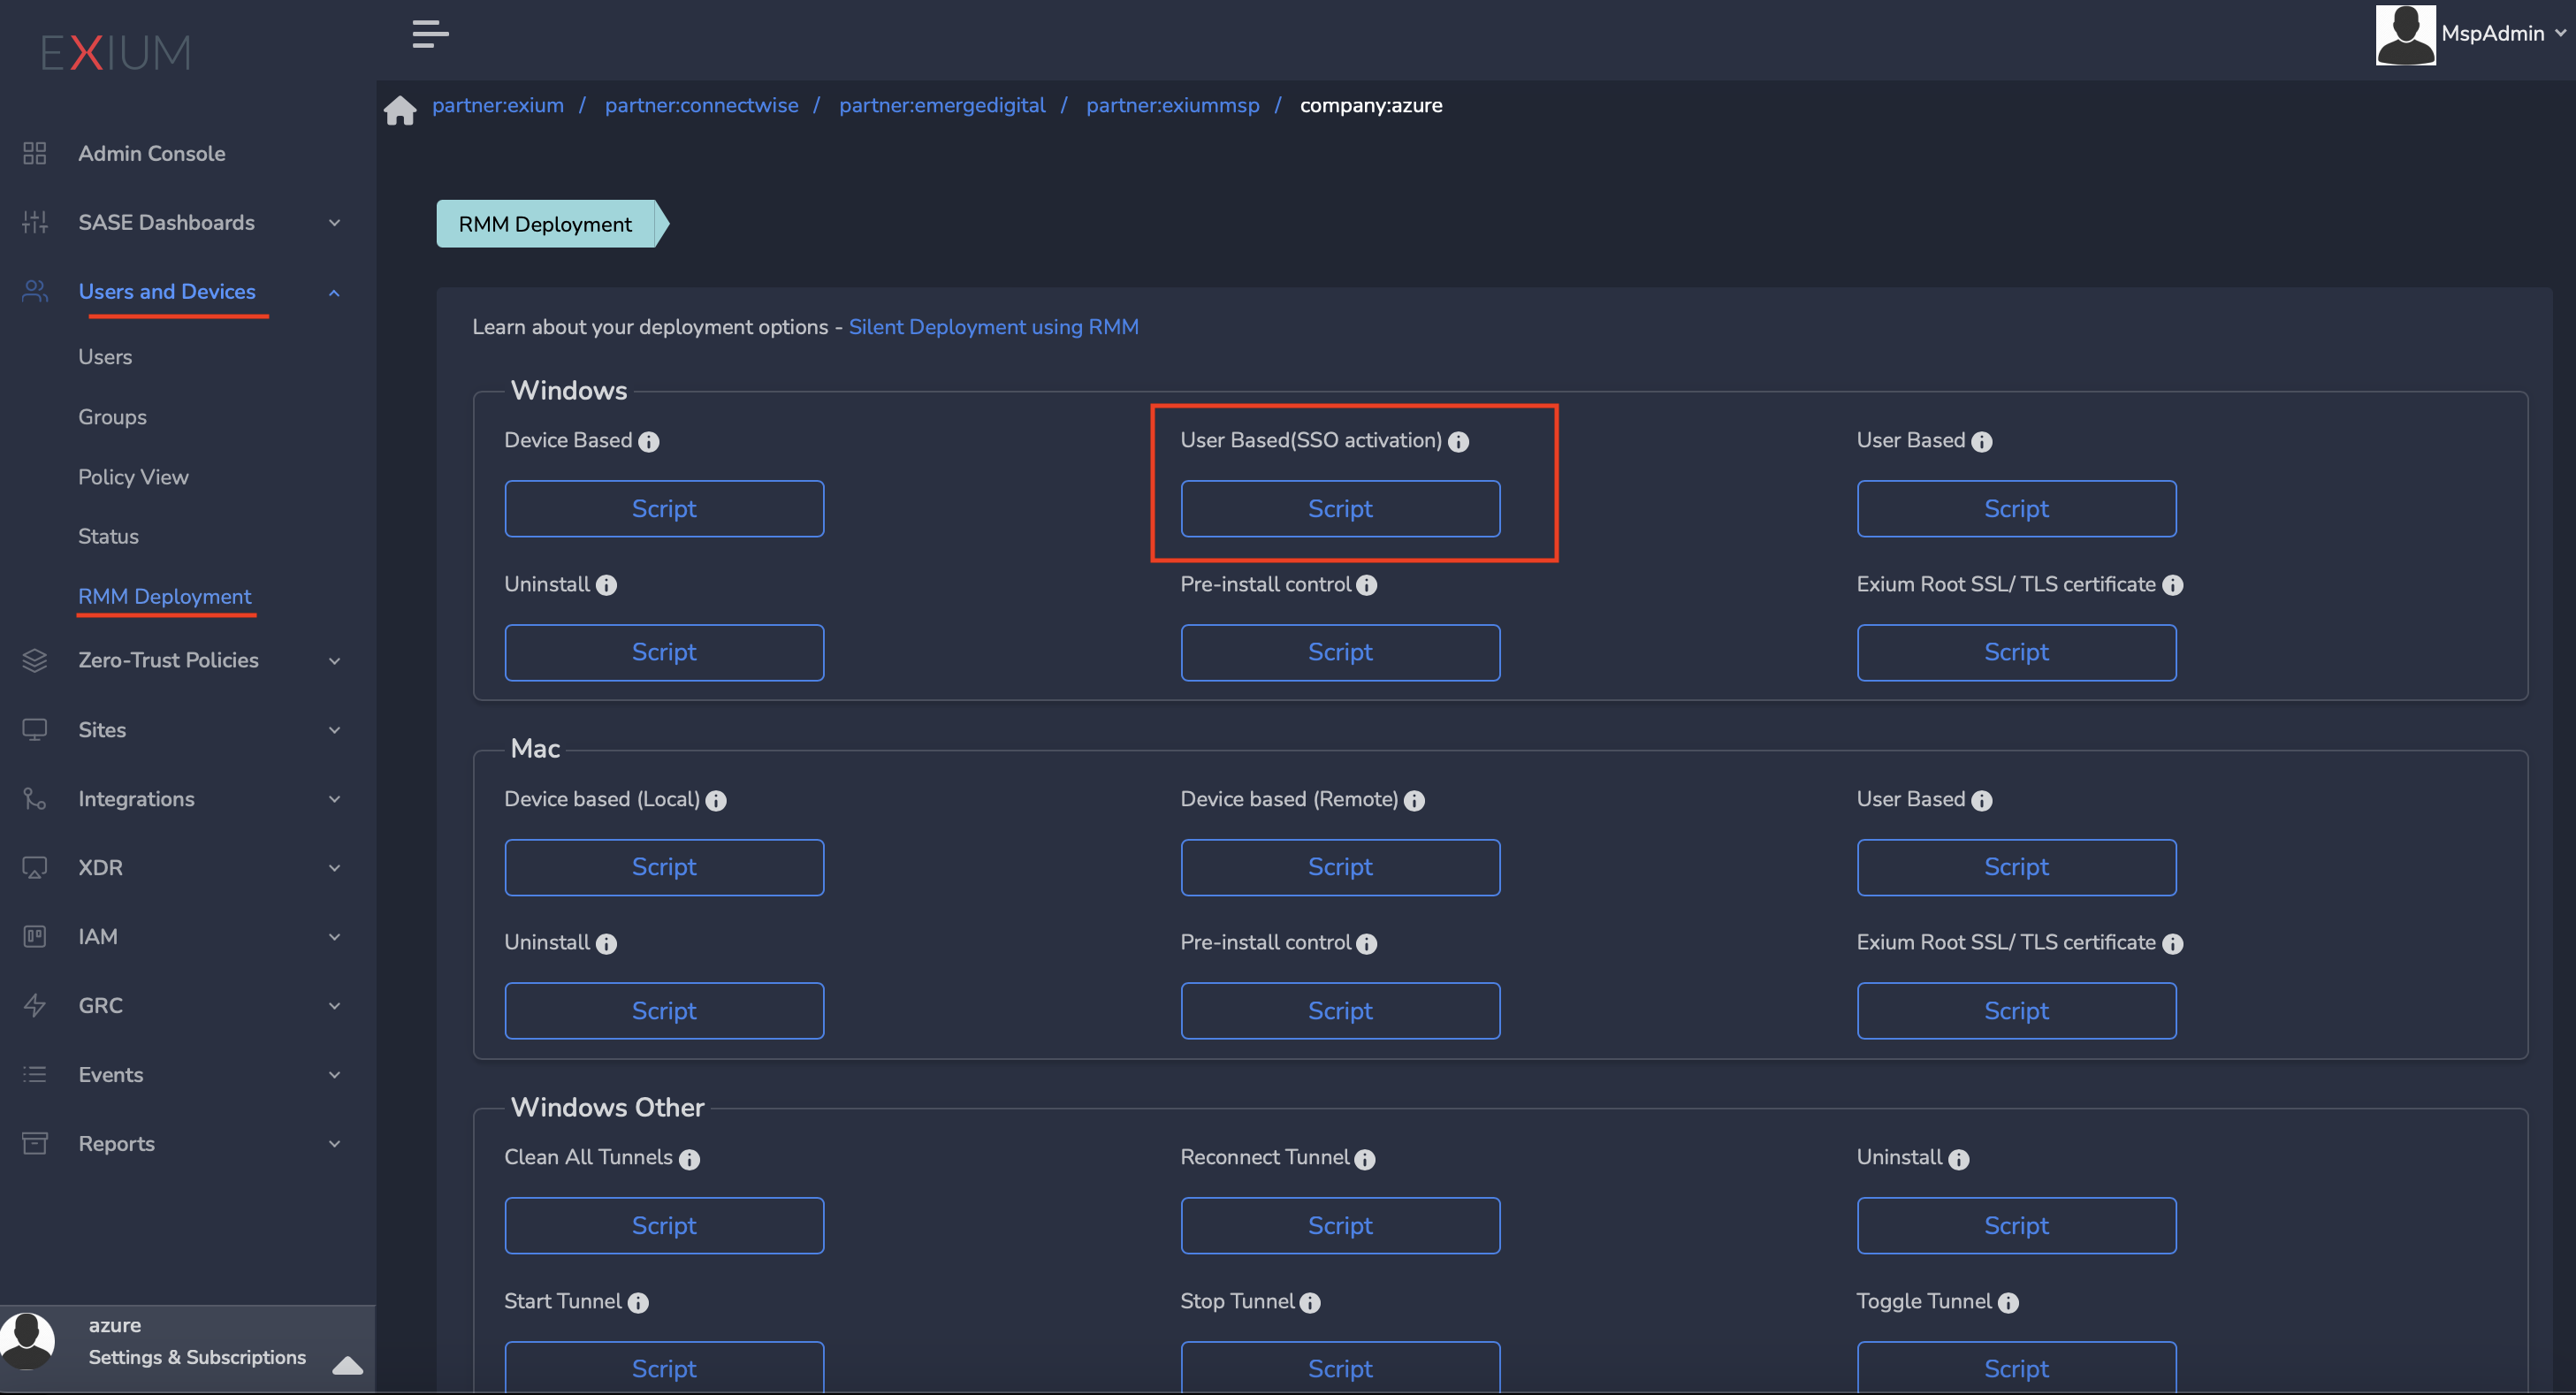
- Click on Admin Console → Users and Device in left Menu
- Select the RMM Deployment
- Click on the Script named “User Based (SSO activated)” under Windows (or Mac) see screenshot below
- Copy the script and push it to the user's device (or run locally on the machine for early testing)
- Continue with the next steps below.
¶ Activation Using Azure AD Credentials
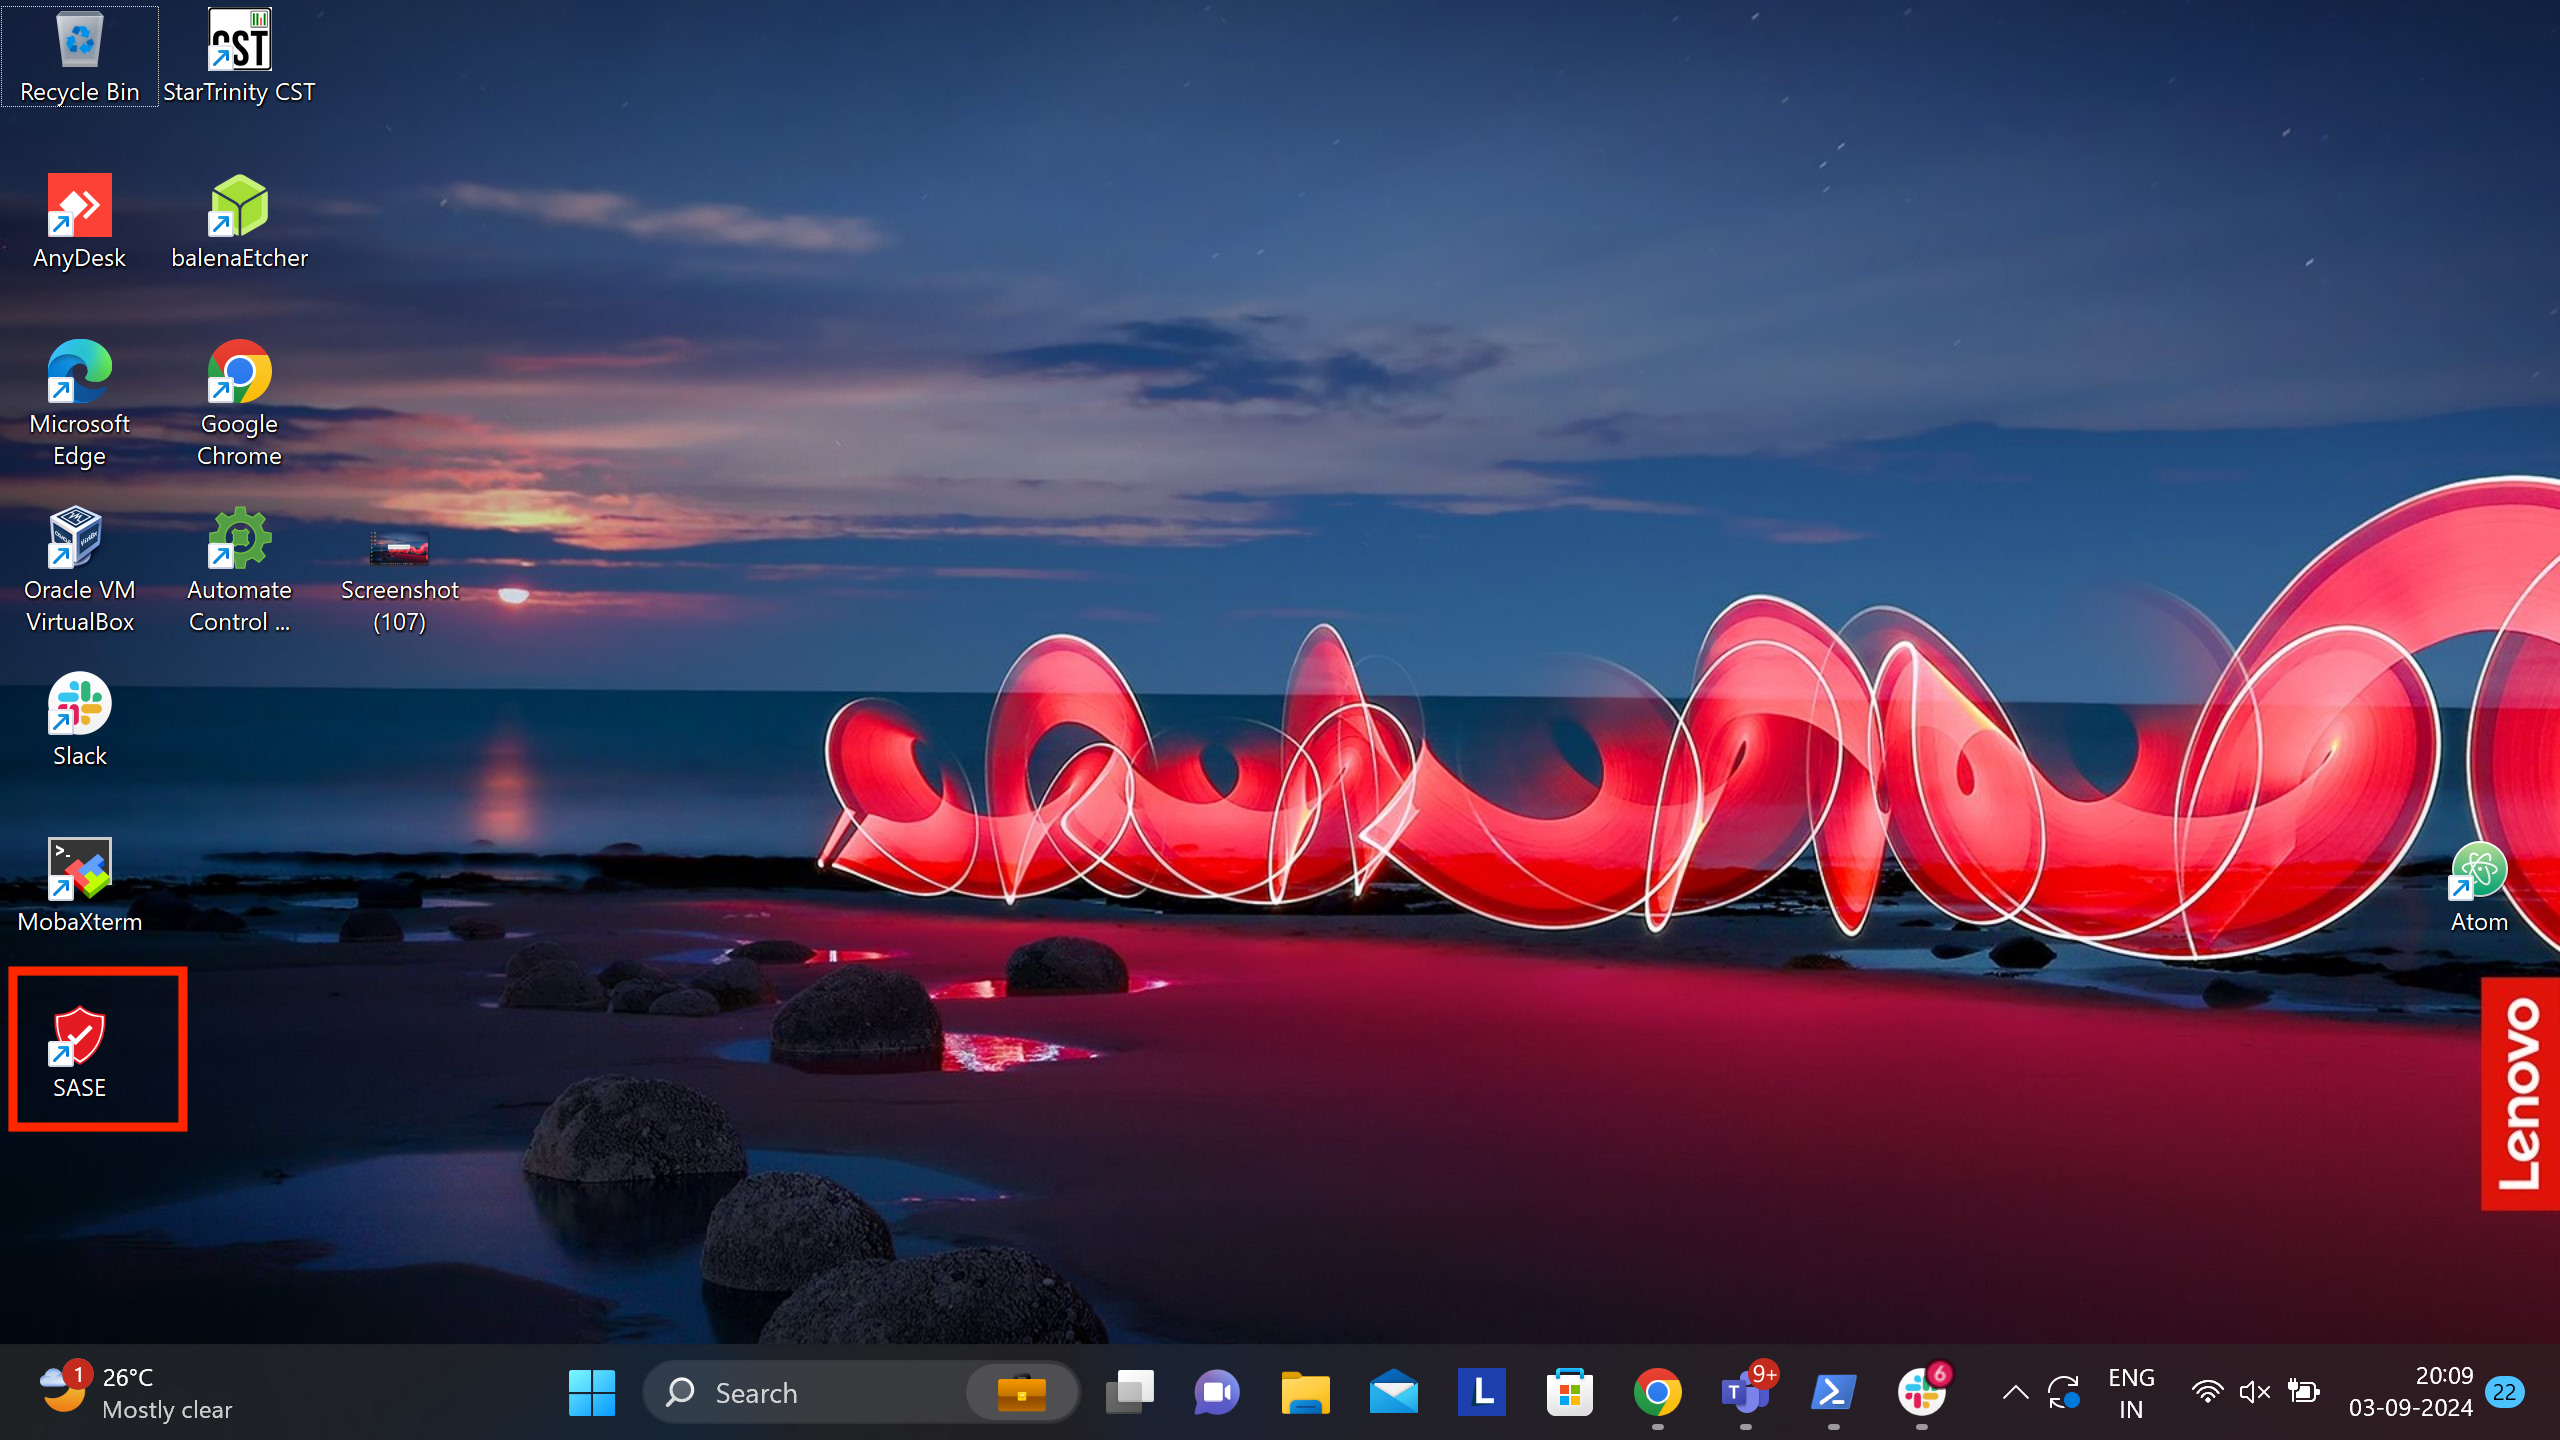
Once installation is completed, users will see “SASE App” on their Desktop as shown in the screenshot below. This App will be used by the user to activate/deactivate secure connection using Azure AD authentication.
Double-click on the "SASE App" icon as in the above screen shot, login screen will open in browser after a few seconds, as shown in the screenshot below. This may take few seconds, please wait while this login pop-up show up
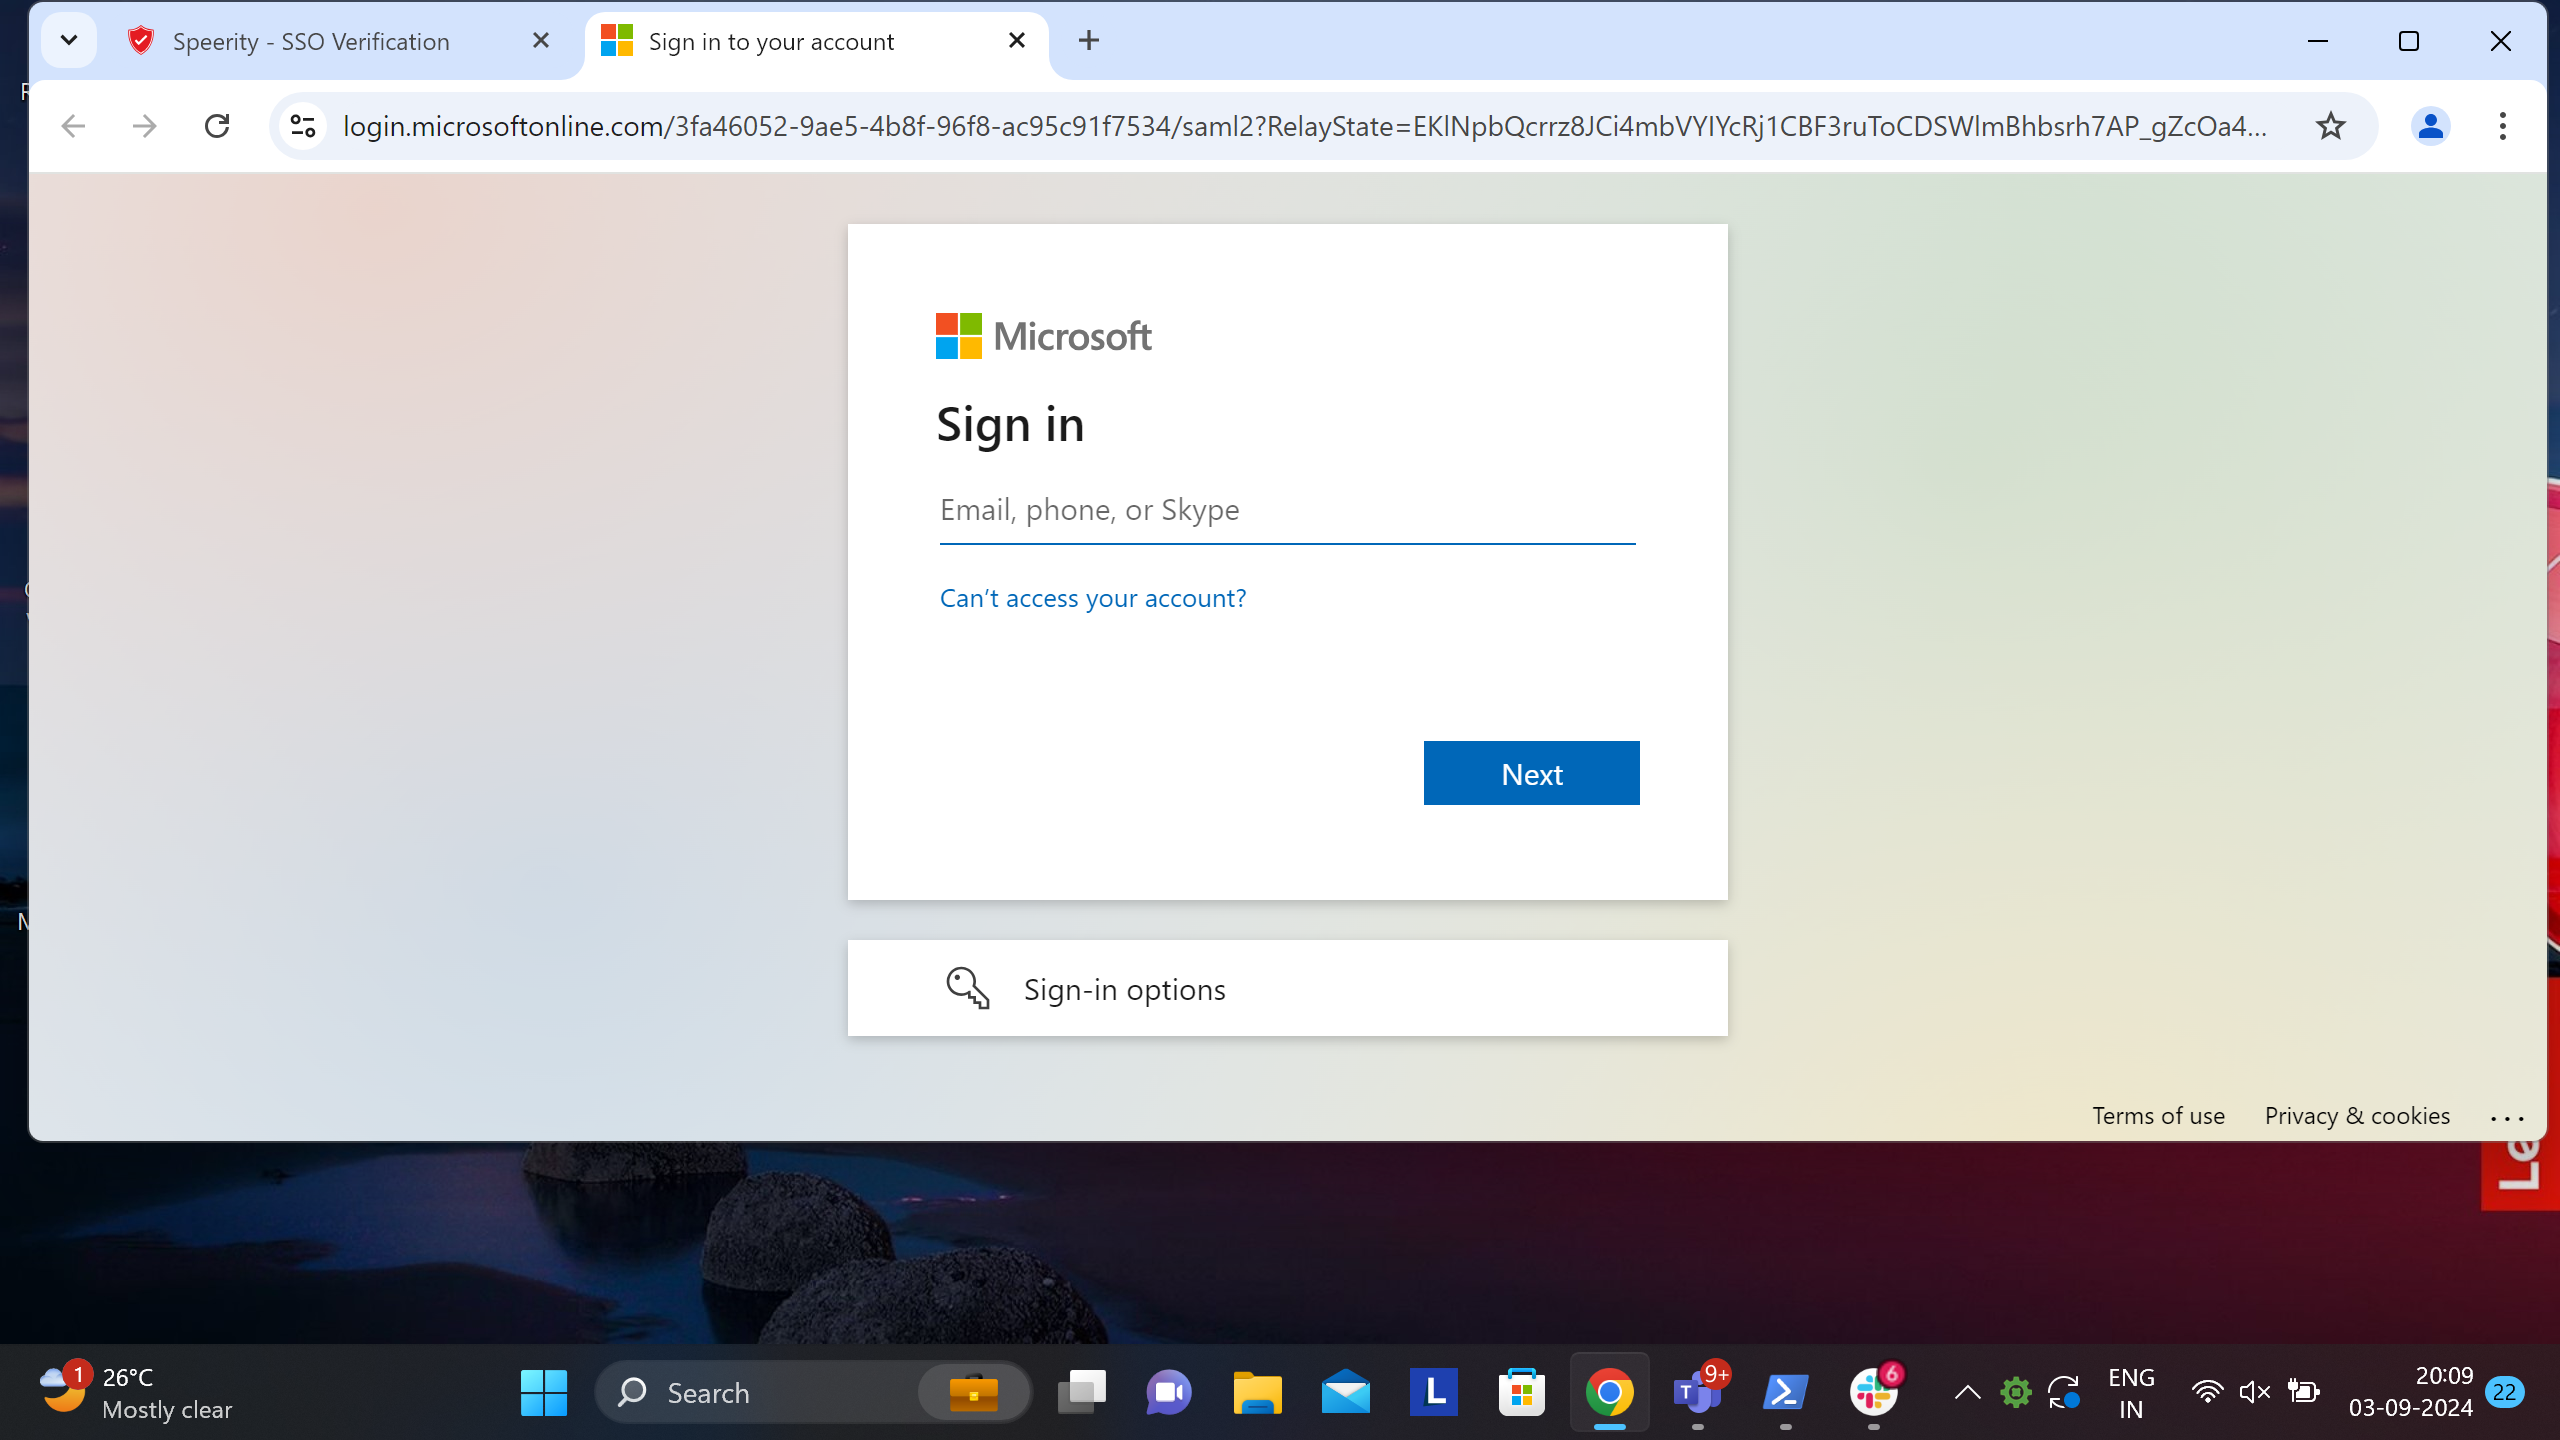
Please SignIn with your Azure AD credentials and complete the authentication procedure. Once authenticated, Exium service will be activated and Tray icon will show connection status (Please see screenshot)
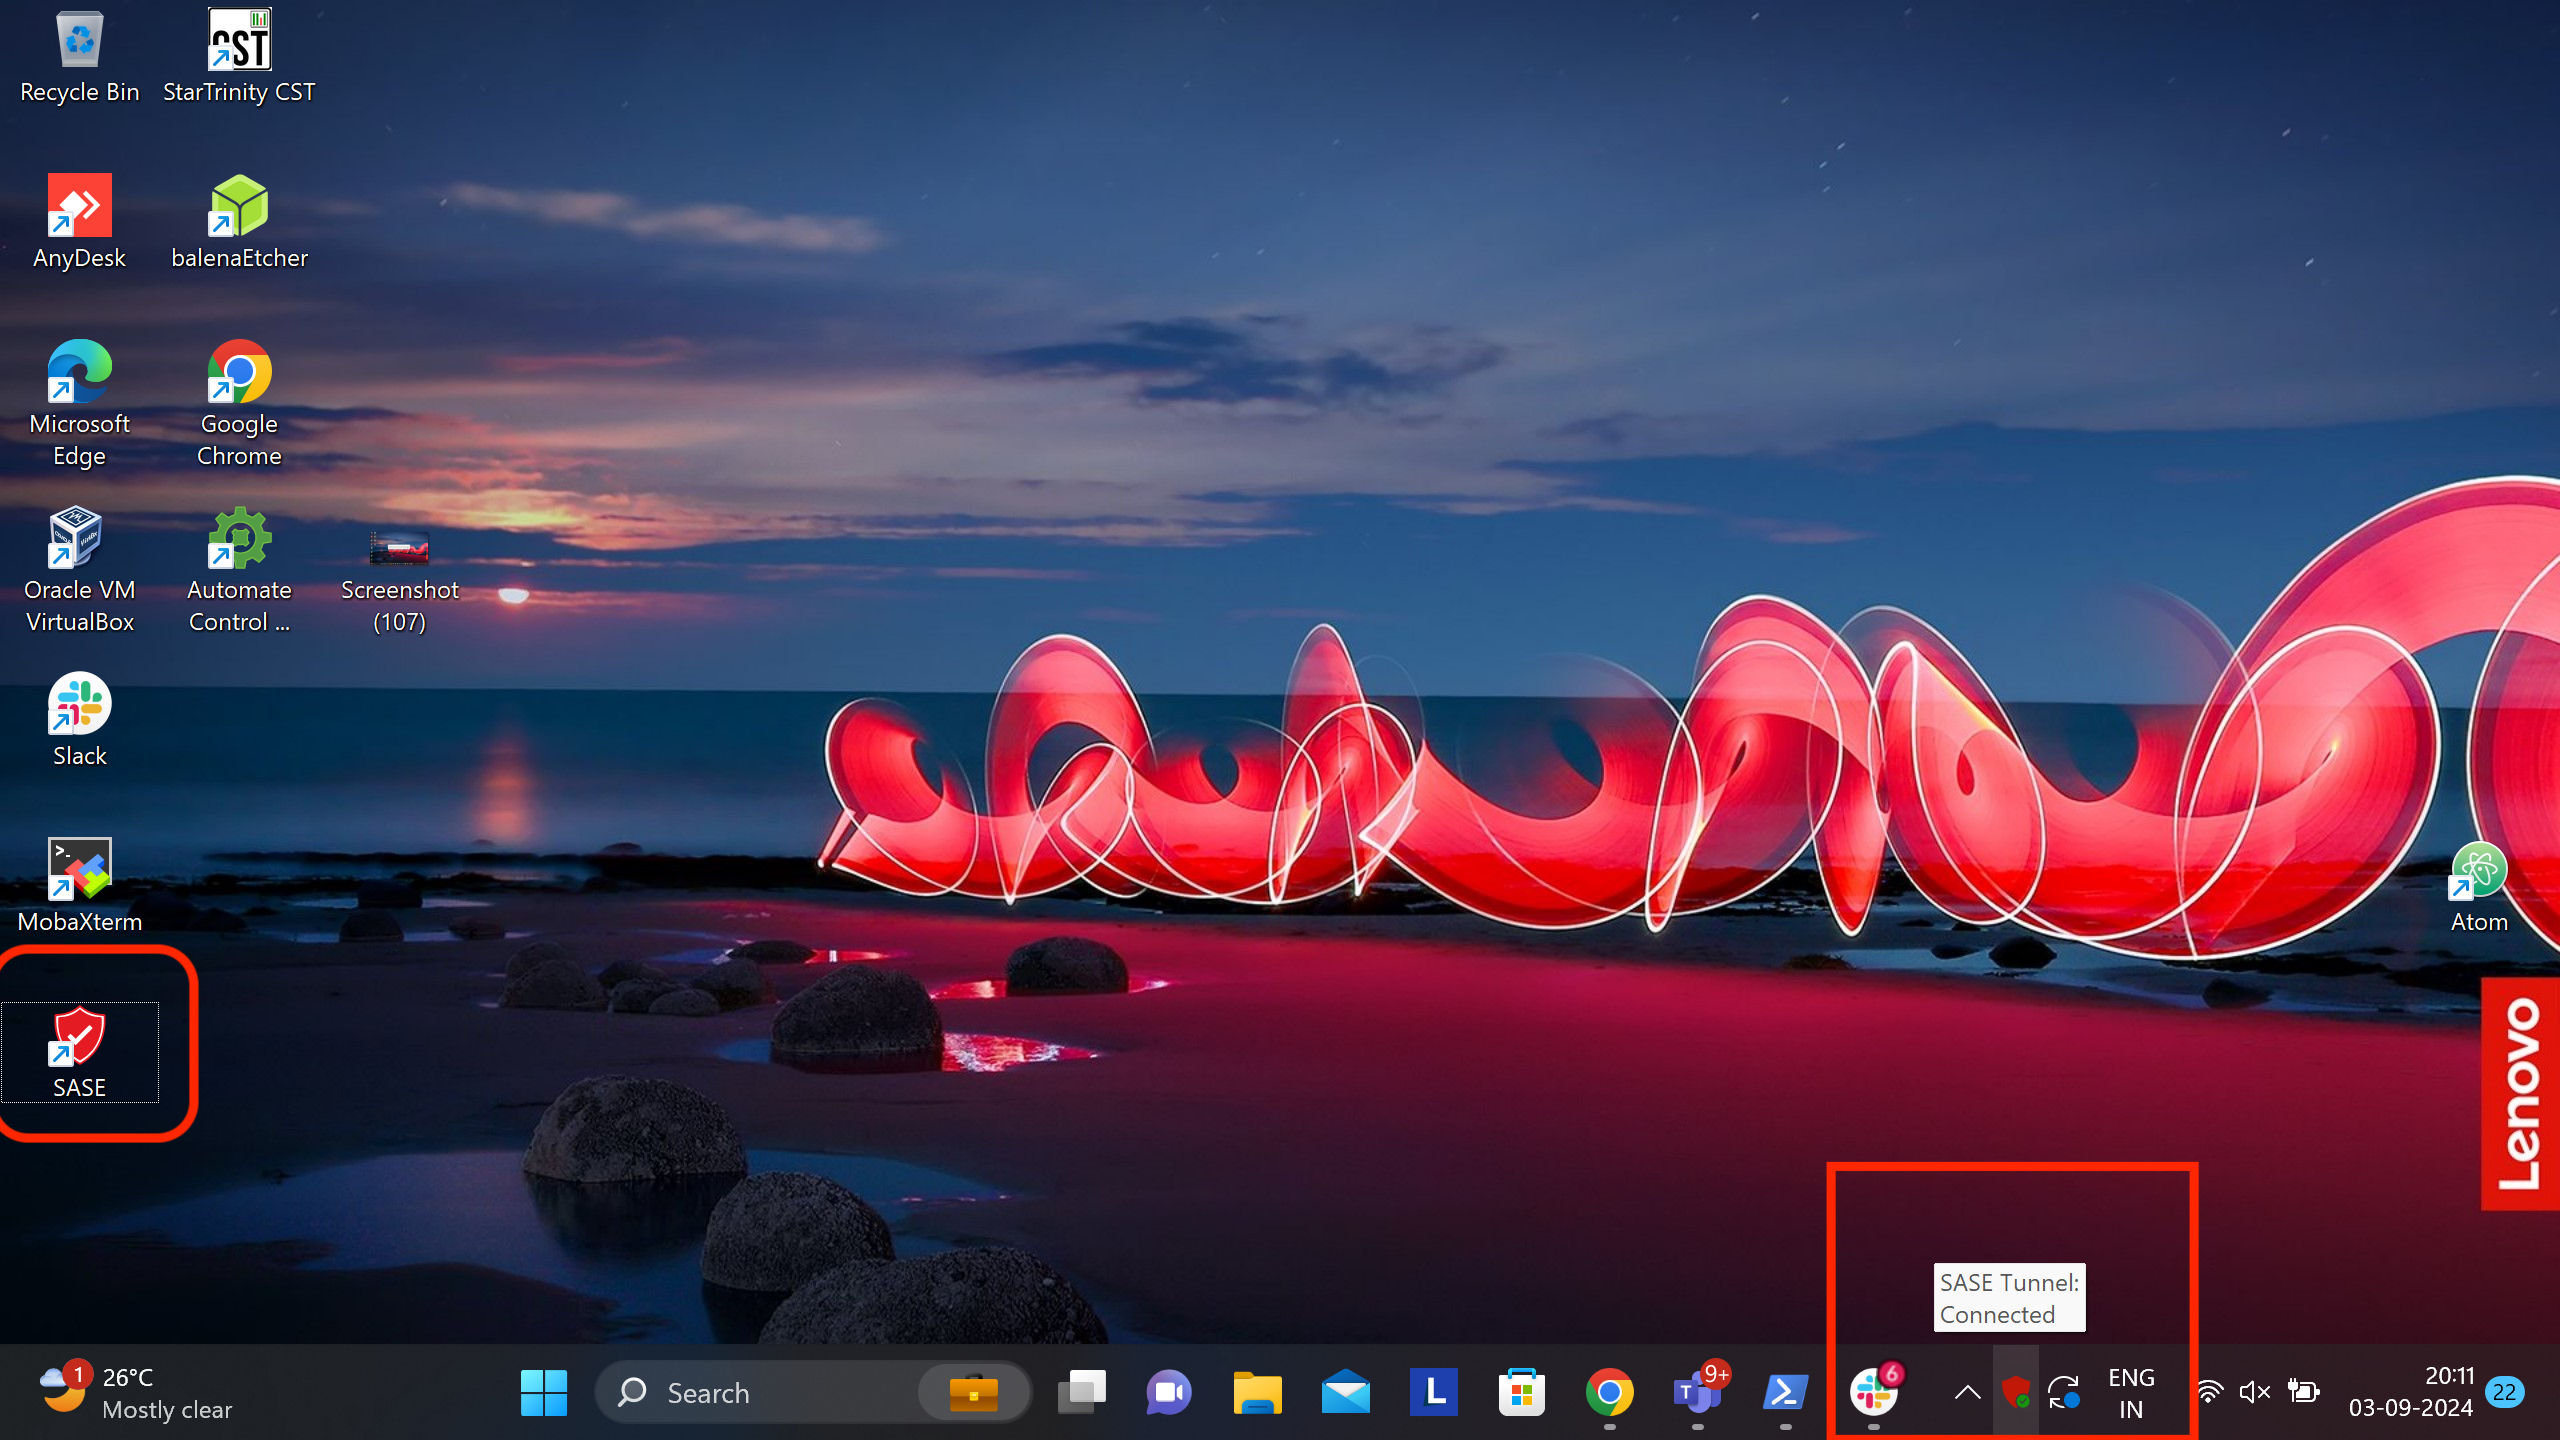
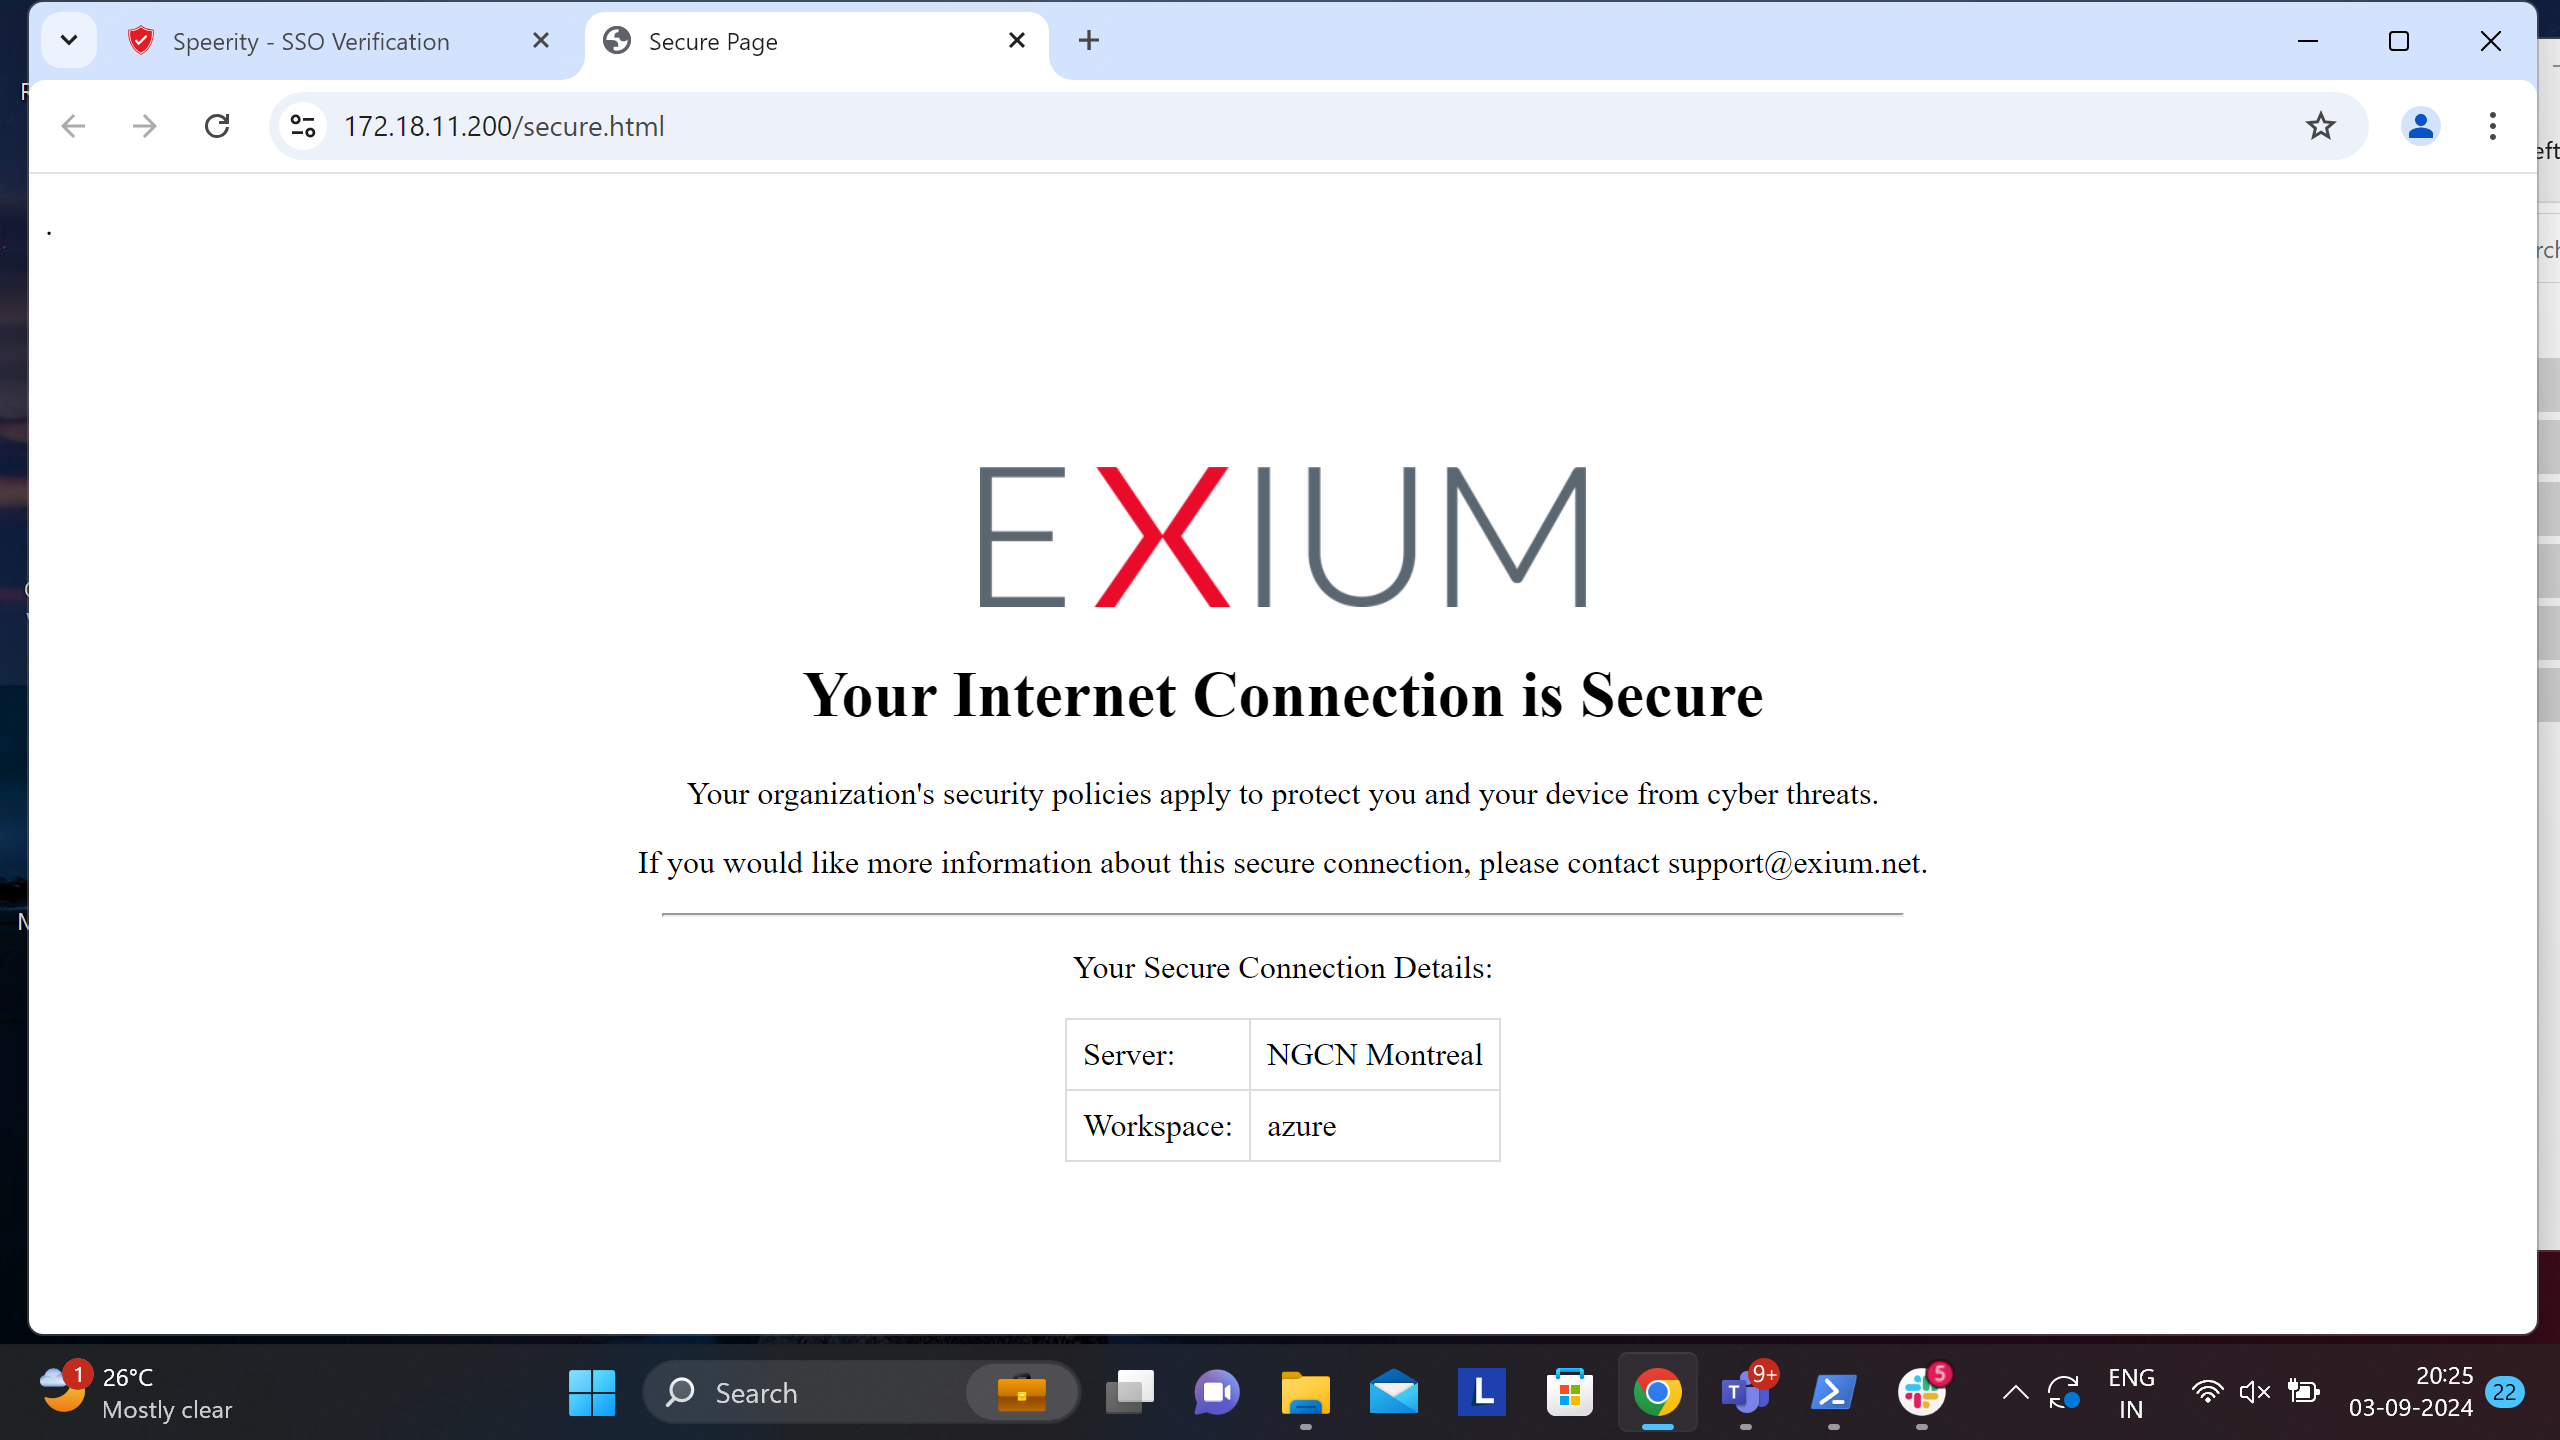
Also connection status will be shown web page as shown in picture
¶ Method 3C: CSV File Upload
In this option, CSV file linking the user identities to the devices is required. MSP IT admin can upload this file to the Exium Admin console. See instructions below.
- Navigate to the MSP admin console -> Client Workspace
- Click on Users in the left menu bar -> Users -> Upload Devices CSV
You can download a sample CSV file by clicking on the question mark as shown in the screen shot below.

After uploading the CSV file to the admin console, follow the steps below.
- Navigate to the MSP admin console -> Client Workspace
- Click on Admin console in the left menu bar
- Click on Settings → RMM shown in the Figure below
- Select your device type (Windows, Mac etc.)
- Copy the script and push it to the user's device (or run locally on the machine for early testing)
Note the script you copy this way already has TOKEN and Workspace name. You do not need to modify the script as it is complete for deployment.

¶ Uninstalling Exium SASE Agent
You can uninstall Exium SASE agent on the Windows endpoint by using the script below:
- Navigate to the MSP admin console -> Client Workspace
- Click on “Users and Devices” in the left menu bar -> RMM Deployment
- Copy and run the script via RMM or locally on the machine