¶ Mac OS SASE Client Deployment (local or via RMM)
SASE architecture allow IT to deliver networking and security to all locations, applications and users. This happens through tight integration of networking and security delivered through a single cloud platform. But one of the fundamental elements of SASE is its identity-based policy framework.
The identity of users and devices is the foundation of how SASE delivers its policy-driven access. Exium' SASE solution offers both user identity and device identity based access and policies. The two methods decribed below are part of the broader deployments methods described here.
The scripts provided here can be run locally on the machine or pushed via any RMM or remote deployment tool.
¶ Method 3A: Include user information in the RMM
In this approach, individual user information needs to be passed as additional input parameter. You may automate this process if you have information linking users to devices in your RMM system.
We have made it easy for you to copy the script for a user deployment. Note the script copied below can also be run locally with admin or root privilege on the machine to test before pushing it via RMM.
- Navigate to the MSP admin console -> Client Workspace
- Click on Users in the left menu bar
- Click on the icon with the down arrow sign next to the user as shown in the Figure below
- Select your device type (Windows, Mac etc.)
- Copy the script and push it to the user's device (or run locally on the machine for early testing)
Note the script you copy this way already has TOKEN, Workspace name and user name included. You do not need to modify the script as it is complete for deployment for a particular user.
If you like to manually create the deployment script, an example where to find the workspace and user name is shown below. You can find the workspace name in the bottom-left side bar which is ‘exiumngcnusa’ in this example and the user name is in the “User Name” column of users list, user ‘david.nuti’ in this example. Along with the TOKEN, you need to include these two pieces of information when deploying the above script via RMM.
¶ Device Based Client Activation
For Device Based Deployment, follow the steps below.
- Navigate to the MSP admin console -> Client Workspace
- Click on Admin console in the left menu bar
- Click on Users and devices → RMM deployment shown in the Figure below
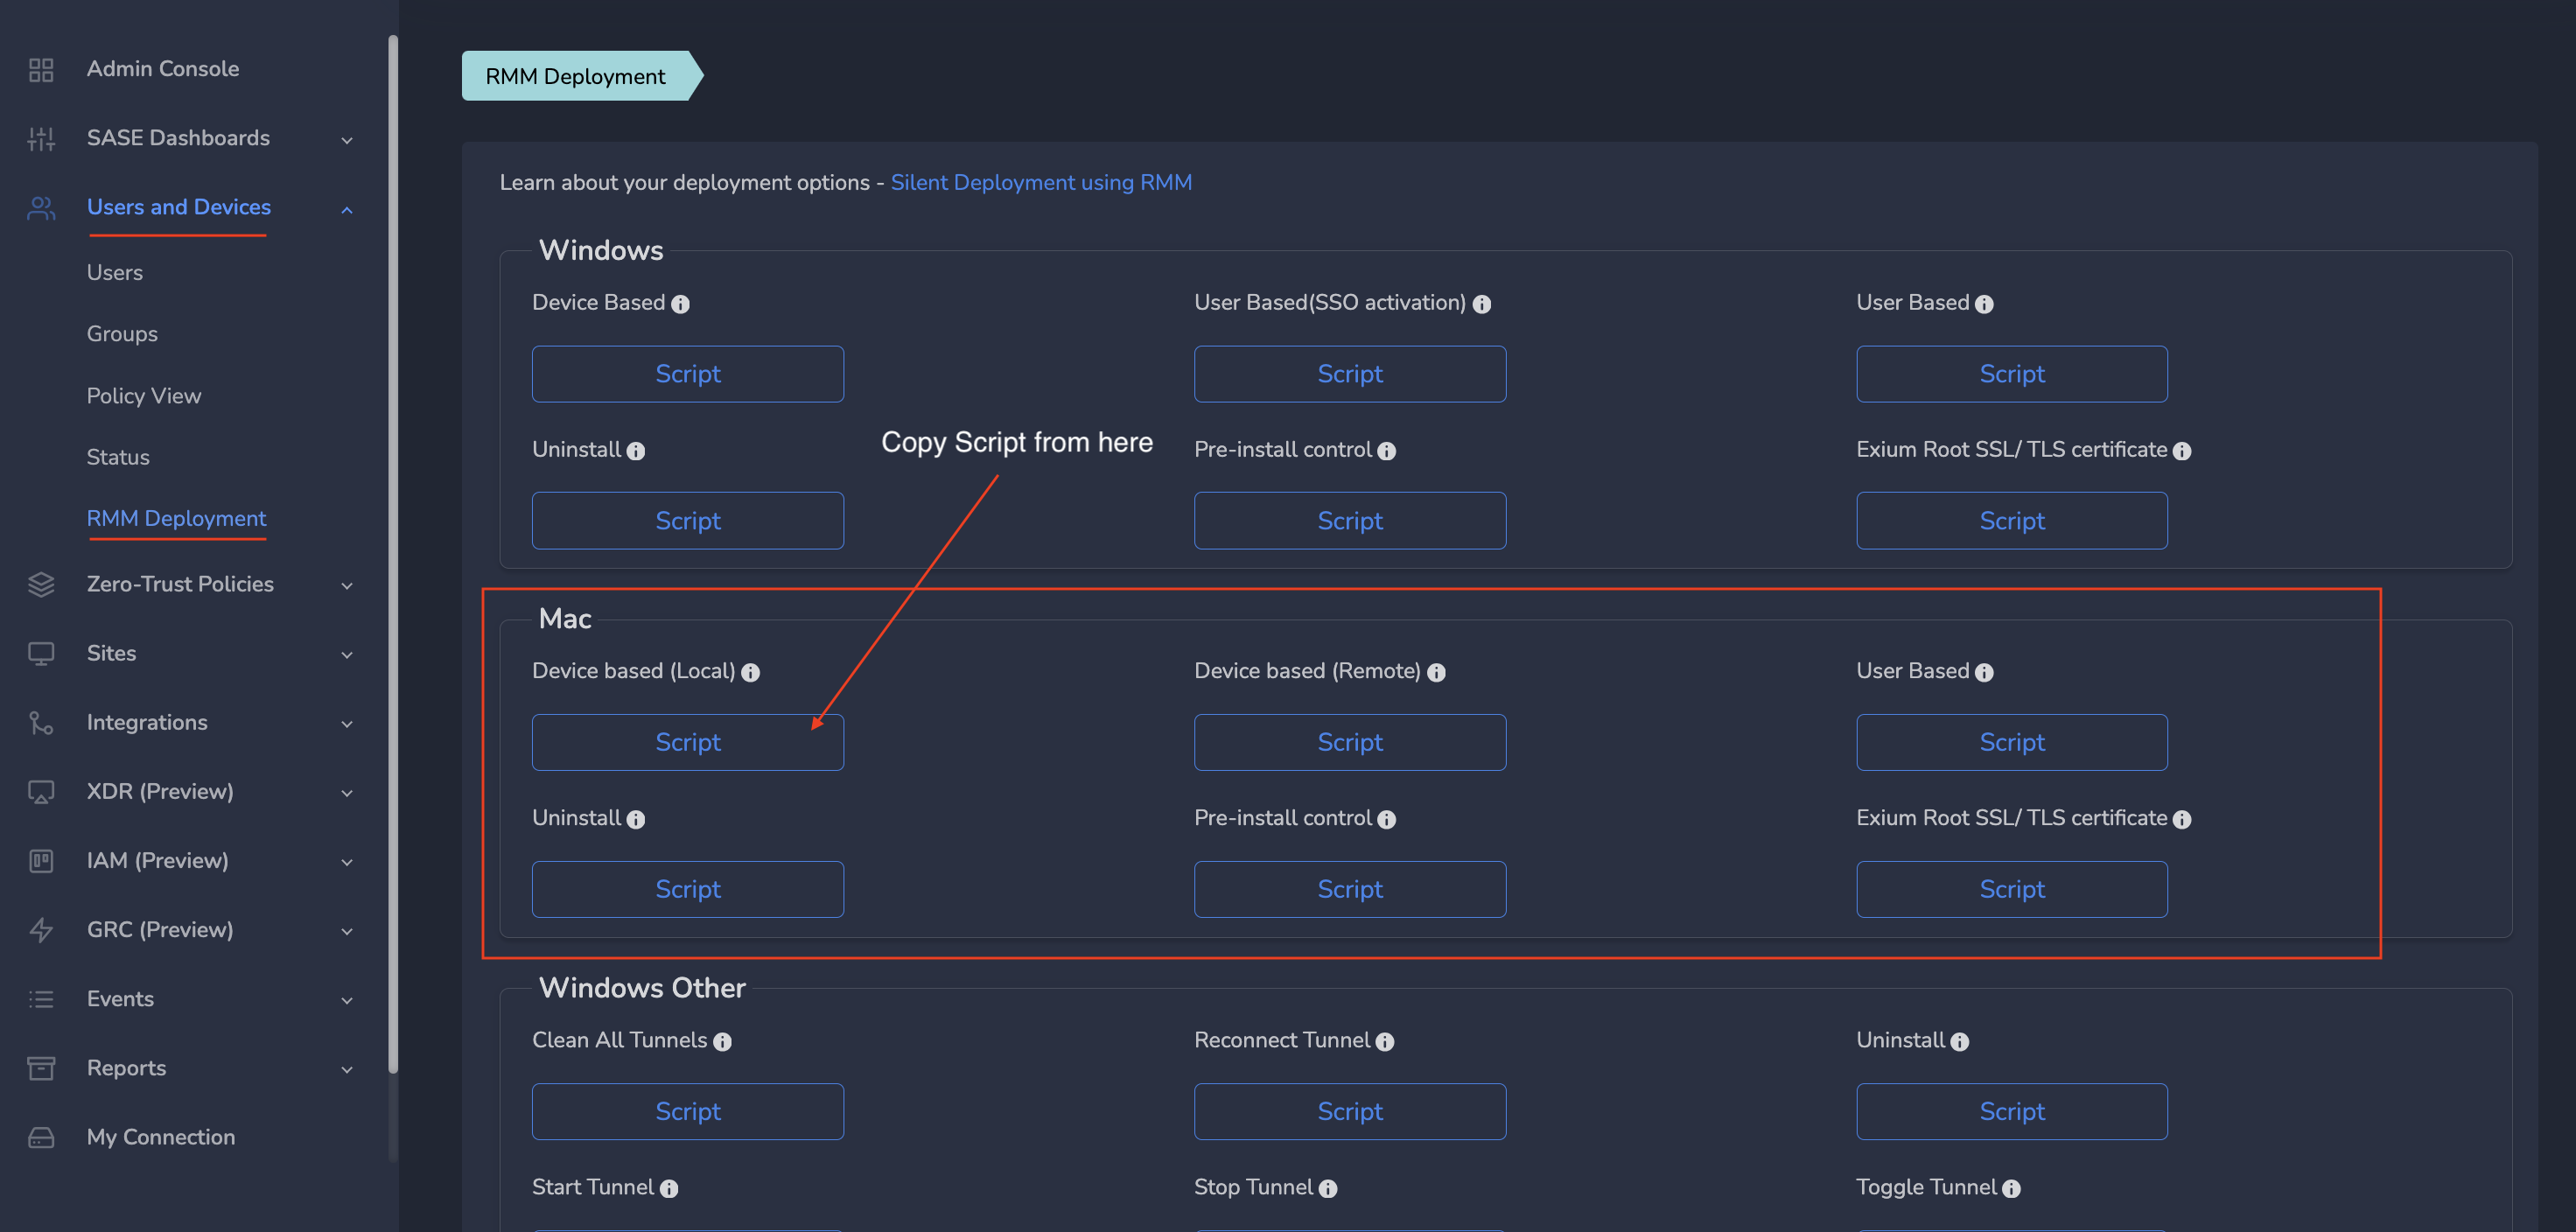
- Select your device type (Windows, Mac etc.)
- Copy the script and push it to the user's device (or run locally on the machine for early testing)
Note the script you copy this way already has TOKEN and Workspace name. You do not need to modify the script as it is complete for deployment.
When you like to run the script locally on a MacBook:
- Open the Bash shell,
- Switch to root,
- Paste the script you copied above and enter.
¶ Client Installation
Paste the copied script from the procedures mentioned above in bash shell to start installation. Please switch to root ('sudo -s') before running the command. During installation you will be asked to enter your MacOS login/pwd, Please enter that to continue.
MacOS client is verified on Mac OS Sonoma(14.x), Ventura (13.x), Monterey (12.x), versions. Script will also install Homebrew package manager to install the necessary software. if Homebrew version is old, installation may fail. Script will try to upgrade the version, However if that fails. Please use “Uninstall Client script including home brew” script to uninstall HomeBrew.
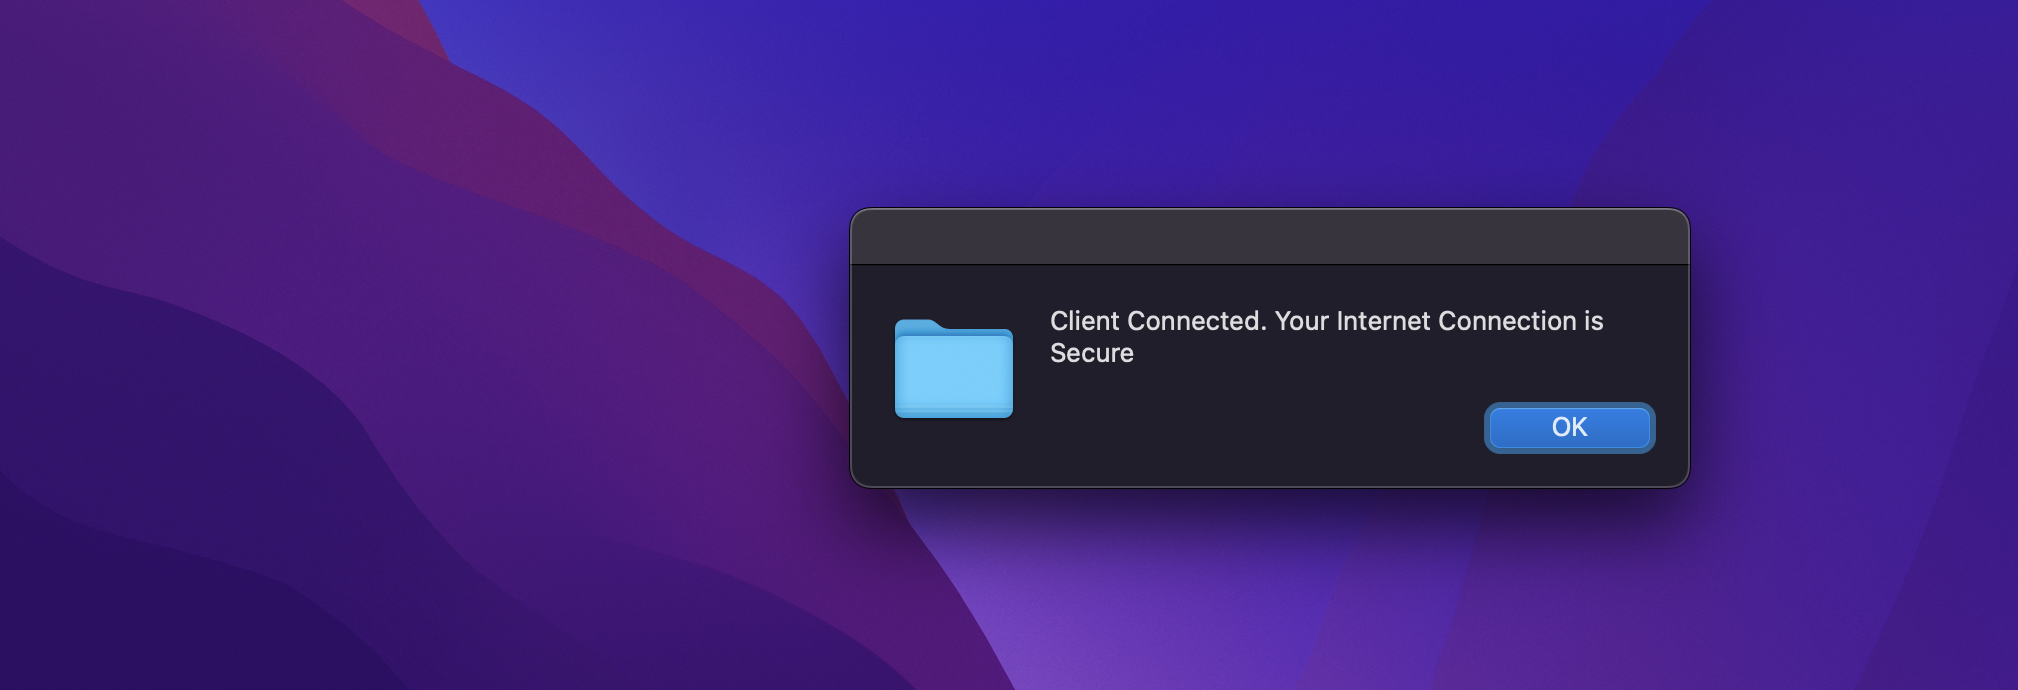
Once installation is completed you will see notification as shown below. This indicates Installation is completed and client is activated.
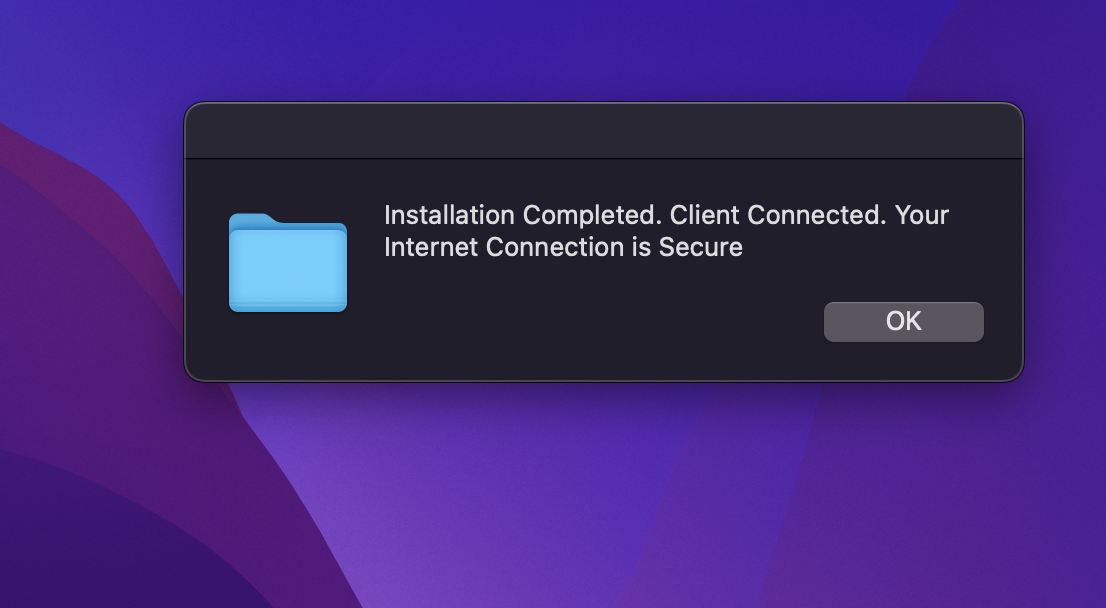
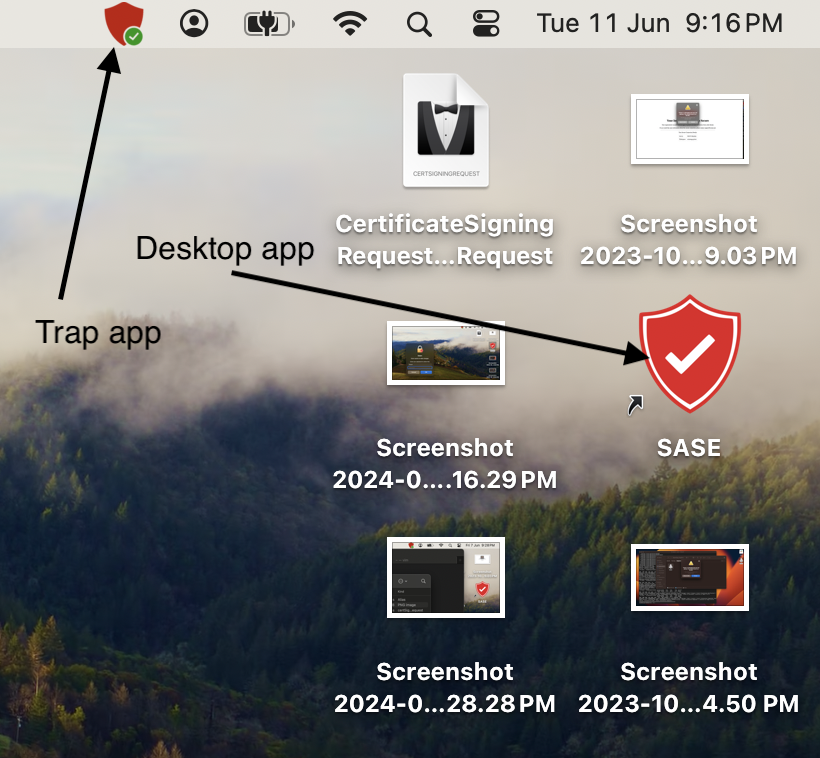
Installation script will also install Exium Desktop application and Tray app. These applications used for activation/deactivation of service. After installation completed as shown above, you will see tray icon as shown in picture below. please open the launch pad and look for SASE for desktop application.
¶ Desktop and Tray Applications
Desktop and Tray app used for activating/deactivating service.
- Click on tray icon (shown in screenshot above) to connect/disconnect client
- From Launchpad look for SASE ( as shown in above screenshot) , click on app to connect/disconnect client.
If Service is activated, app will deactivate the service, showing the following alert.
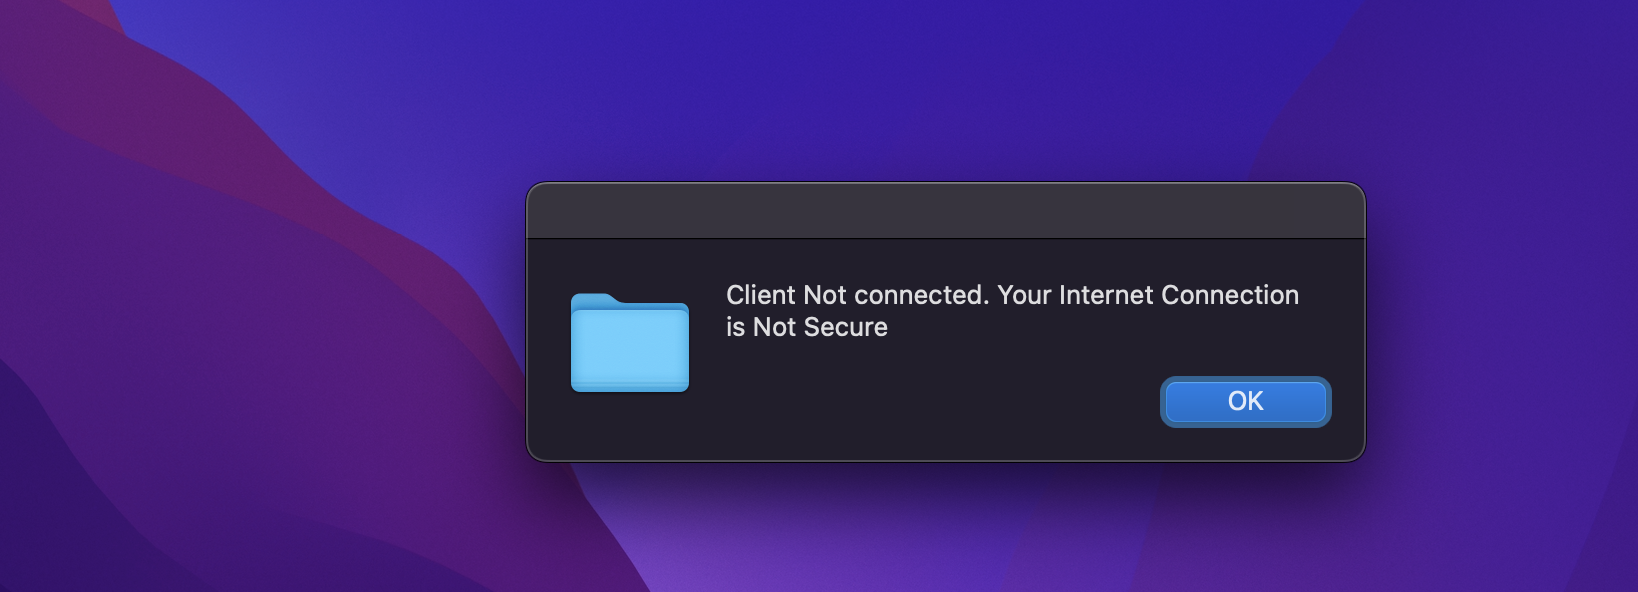
To activate the service again, please click on the app again. This will take few seconds and client will be activated and you will see the following notification.
¶ Client Uninstallation
For Device Based Deployment, follow the steps below.
- Navigate to the MSP admin console -> Client Workspace
- Click on Admin console in the left menu bar
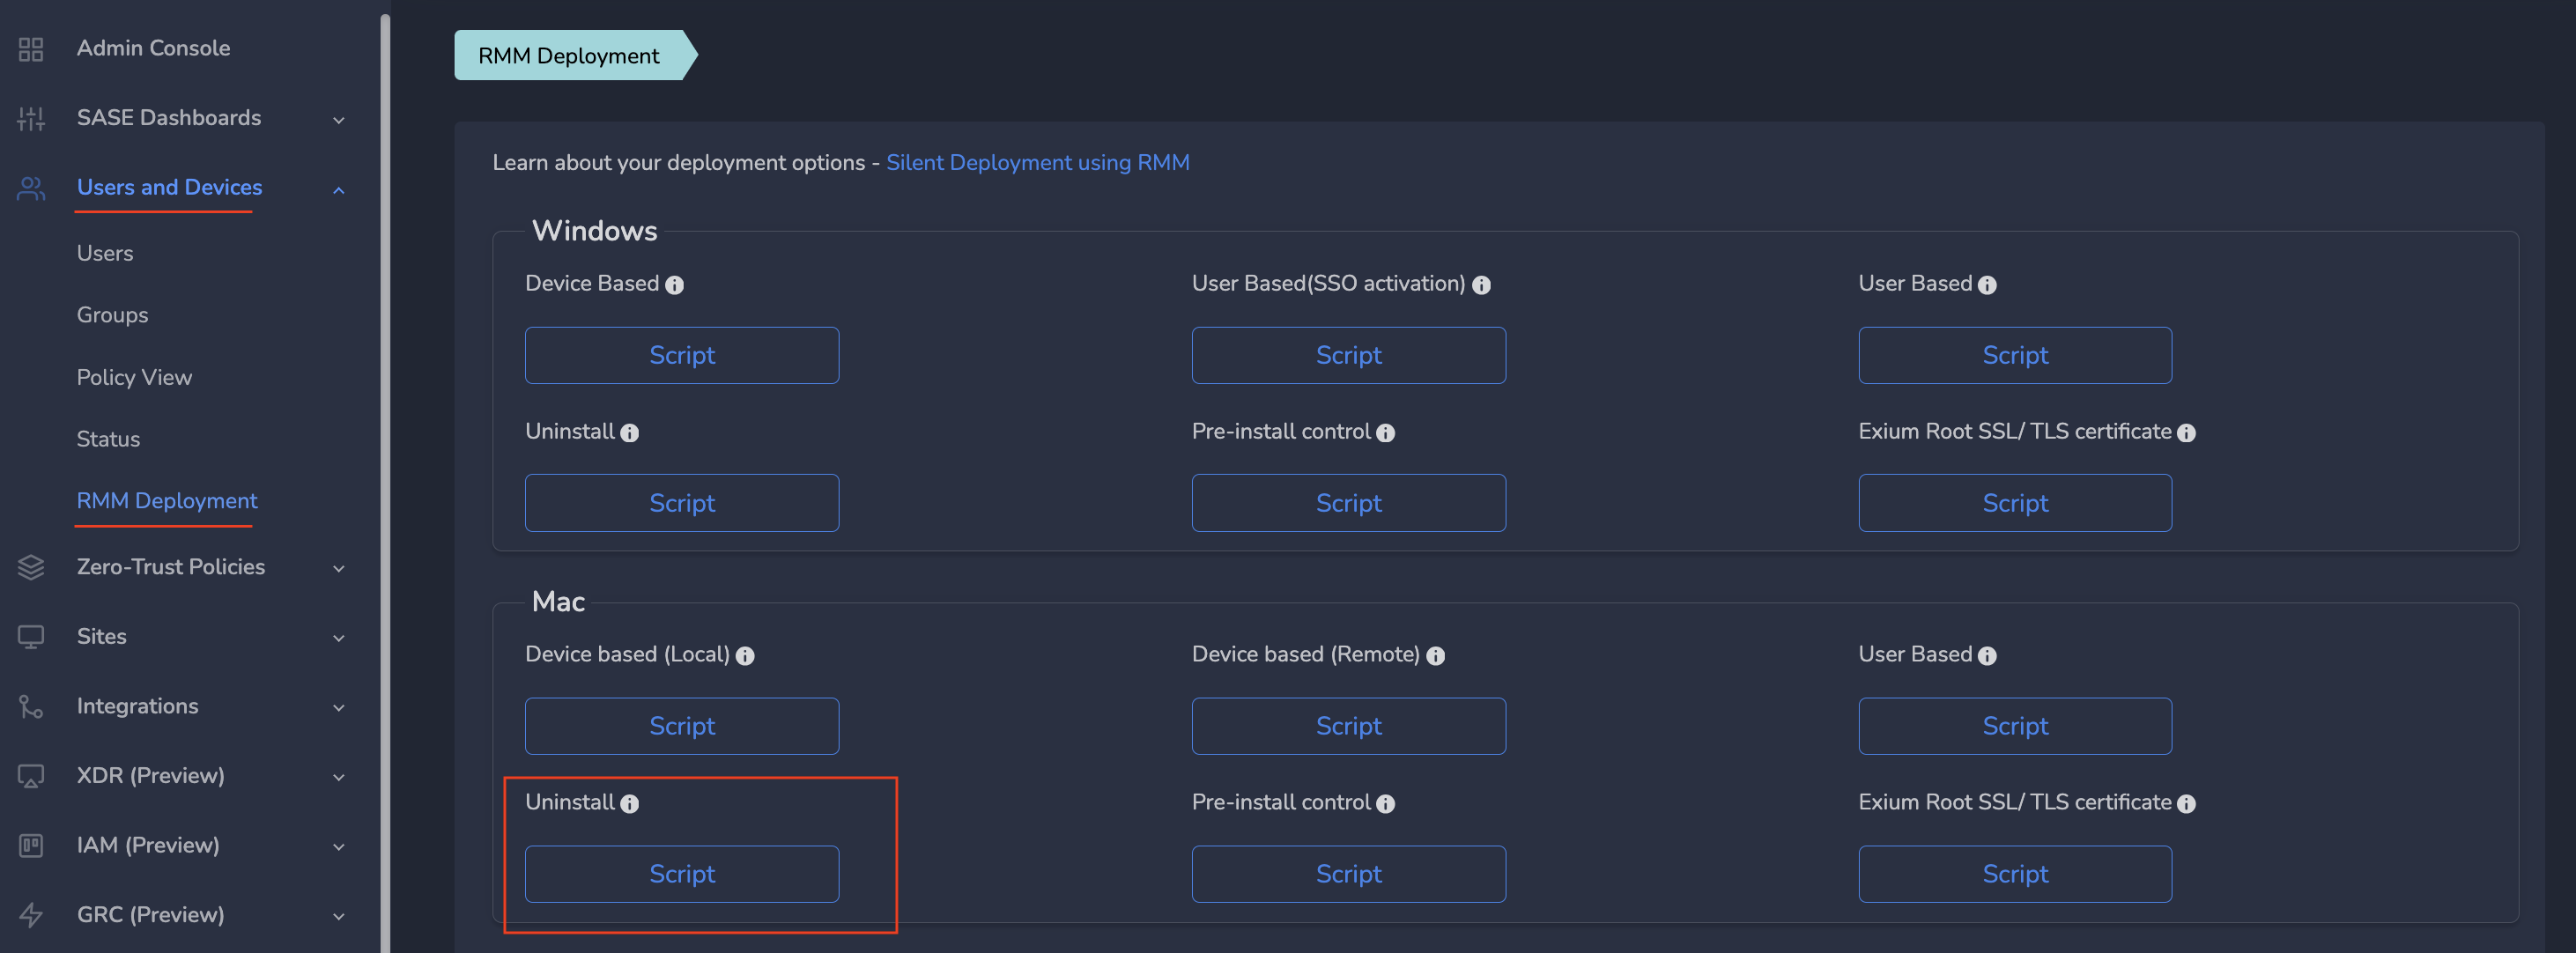
- Click on Settings → RMM shown in the Figure below
- Select your device type (Windows, Mac etc.)
- Copy the Uninstall script and push it to the user's device (or run locally on the machine for early testing)
Once it uninstalled , you can follow install steps mentioned above to install the client again