¶ Installing Exium Client on Linux
This document describes steps to install Exium Client on Linux. Please make sure you have Linux support enabled in your workspace, follow the steps below.
- Navigate to the MSP admin console -> Client Workspace
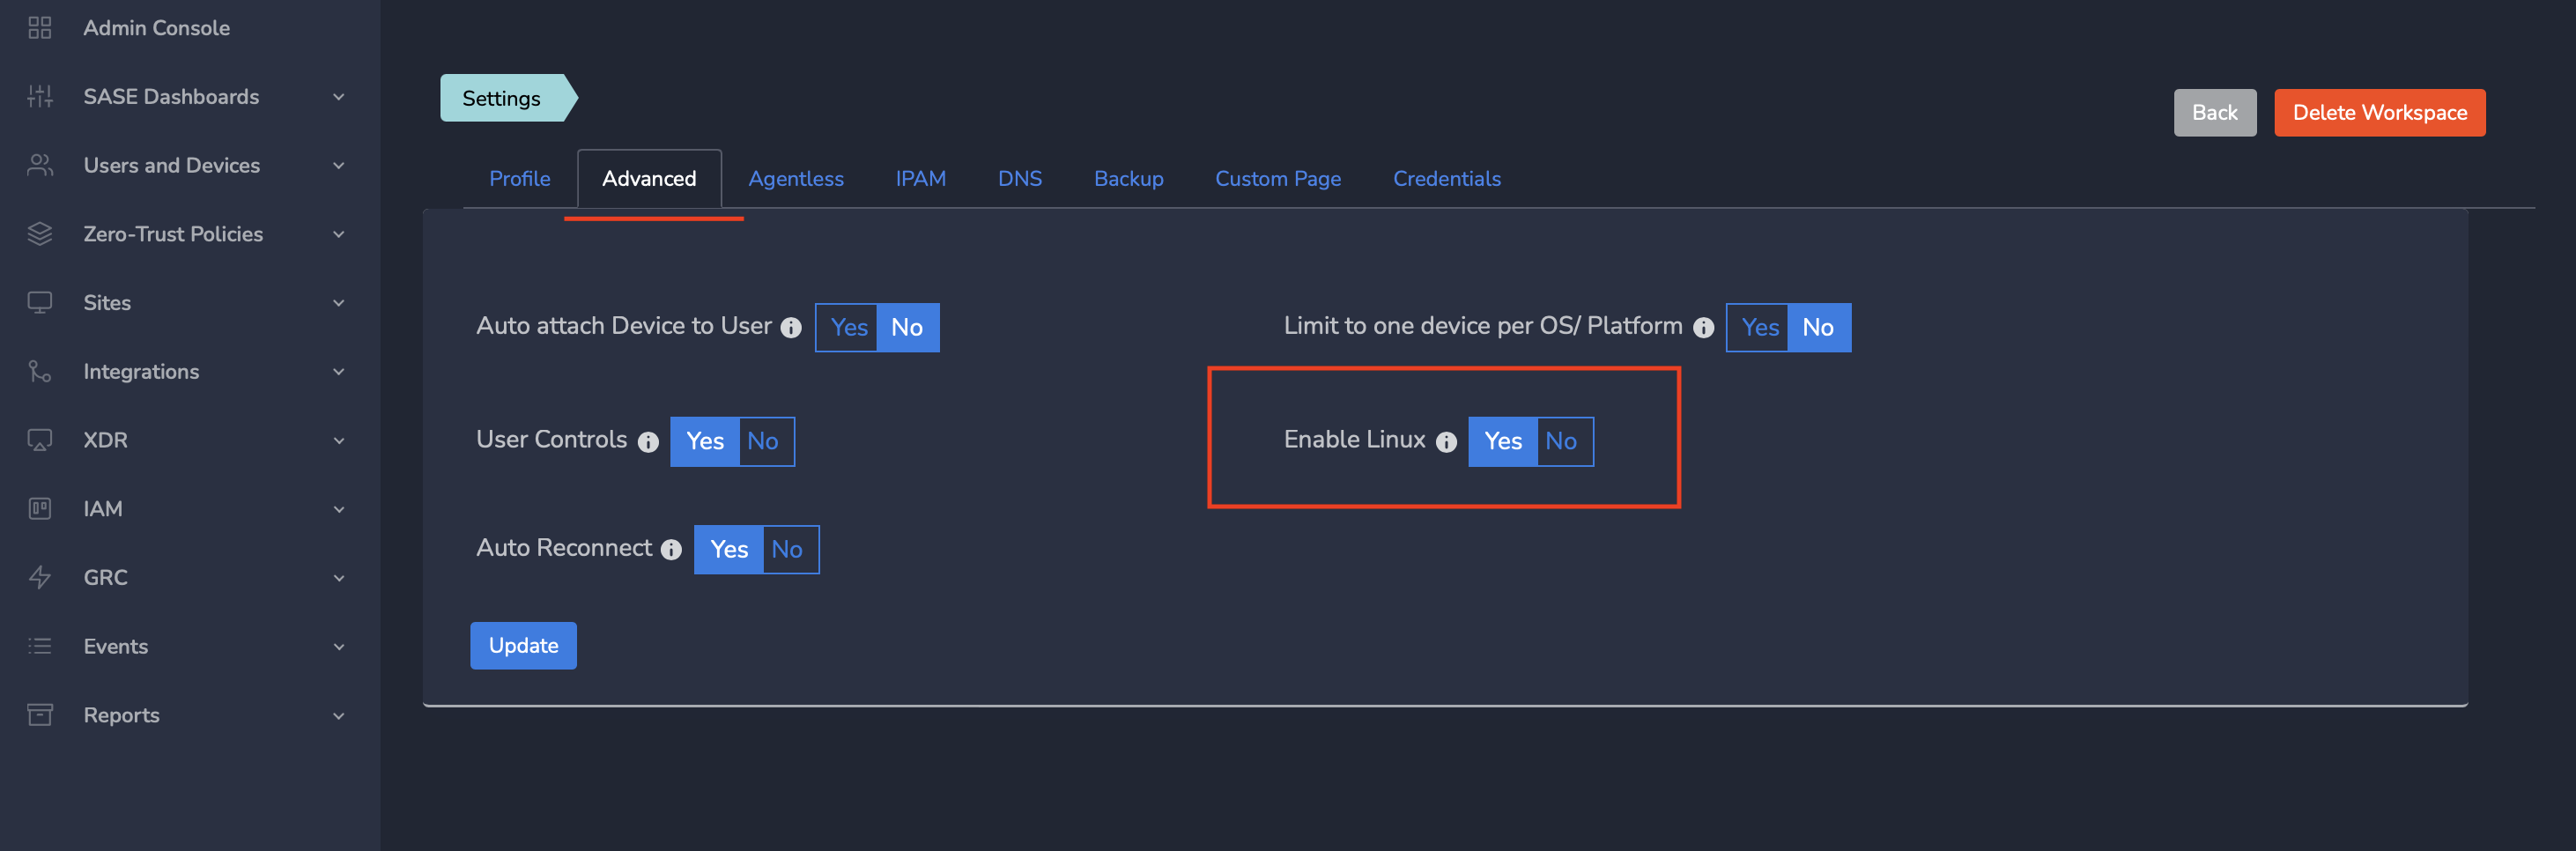
- Click on Settings → Advanced
- Toggle the “Enable Linux” switch to “Yes” (see screen shot below)
- Click “Update” that will save the settings
Your MSP IT admin would initiate an invite email for you to use Exium client on your device.
¶ 1. Invite Email to Install Client
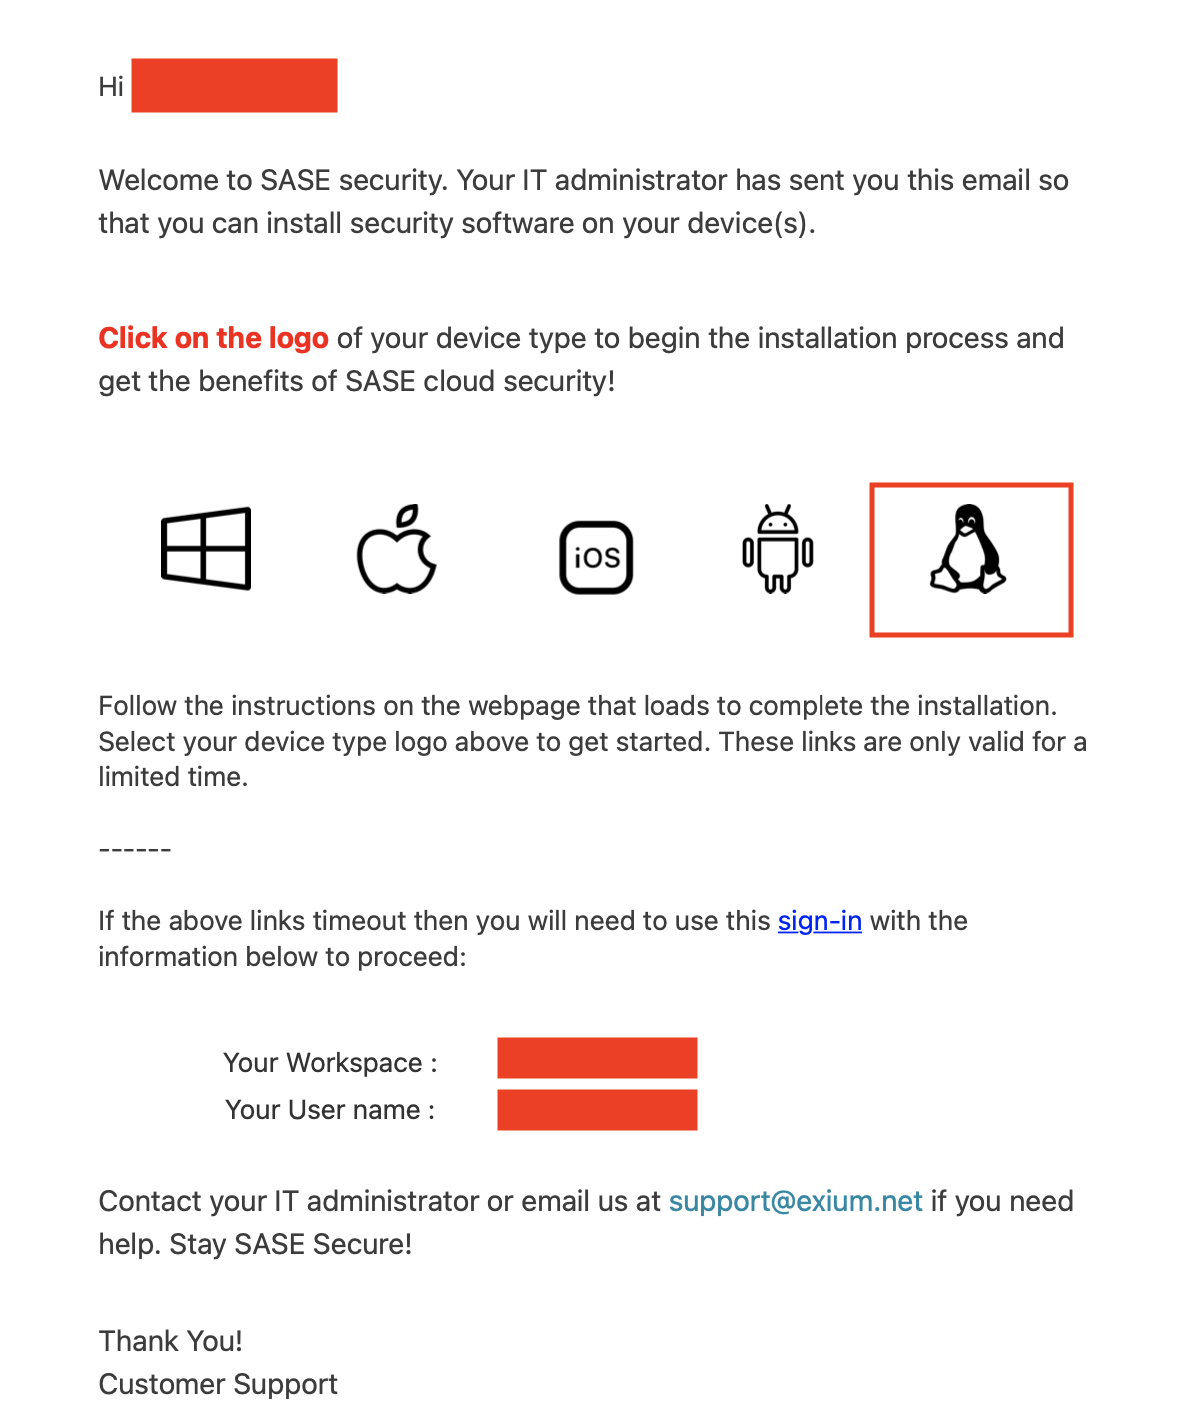
For installing Exium Client on Linux, you Click on Linux icon in the welcome mail as shown below.
Please Note: Welcome email links are valid for 1 hour only. If your link has expired, request a new invitation from your admin.
¶ 2. Download Installer
As next step, on newly opened Page after you have clicked on the Linux icon, copy command as shown below.
.png)
¶ 3. Install Client on Linux VM/Server
- Login to the Linux system where Client will be installed
- run “sudo -s” to switch to root
- Paste the copied command from Step.2 above to start installation
¶ 4. Installation complete
You will see following output on console once installation is completed. This also will activate tunnel
Wed Aug 23 01:29:42 PM UTC 2023 - SpeerityControl Installation Finished !
*************************************************
Wed Aug 23 01:29:42 PM UTC 2023 - Speerity Linux Client Installation Completed and Tunnel configured!¶ 5. Check Client status
To check if your connection is secured by Exium, run the nslookupcommand as below.
root@vm3:~# nslookup google.com
Server:         172.18.1.100
Address:        172.18.1.100#53
Non-authoritative answer:
Name:   google.com
Address: 74.125.197.101Server name and Address should point to a DNS server IP starting with 172 and ending in 100 as in the above example of 172.18.1.100.
Please run command “wg show speerity” to check status of the tunnel

¶ 5. Start/Stop Tunnel
Here are the commands to manage tunnels
Check tunnel status
wg show speerityDeactivate/stop tunnel
wg-quick down speerityActivate Tunnel
wg-quick up speerity¶ 6. Uninstall
Here are the steps to uninstall Linux client. Copy following command from here and paste it on Linux console.
bash <(curl -sSL https://clientreleases.s3.us-west-1.amazonaws.com/ngclient/linux/speerity_linux_uninstall.sh)To learn more about implementing SASE, XDR, IAM/ MFA, and GRC for your organization and explore tailored solutions that meet your unique requirements, contact Exium at partners@exium.net for a consultation or demonstration. If you are ready to get started, check out our testing and onboarding process.