¶ Deploy Cyber Gateway on a Virtual Machine
The CGW requires a single virtual machine (VM) to deploy on Hyper-V host. For High-Availability (HA) deployment, you will need two VMs on two separate Hyper-V hosts.
- For Modern Workplace security use case, you will create a VM with at least two network interfaces (a LAN interface and a WAN interface). If you plan to leverage SD-WAN capability, you will need two WAN interfaces. Similarly, if you have multiple LANs, you can create as many LAN interfaces on the VM as you wish.
¶ Pre-requisites
- Hyper-V with version 10.0.x or above
- Valid Administrator credentials to deploy or manage VMs/Networks
- Ubuntu ISO - download it from here
- Download and store ISO in on local hard drive
- Existing network configuration which provides Internet access
- Existing network configuration which provides connectivity to private resources
¶ How to Create a VM for the Cyber Gateway?
¶ Login to VMWare ESXi host
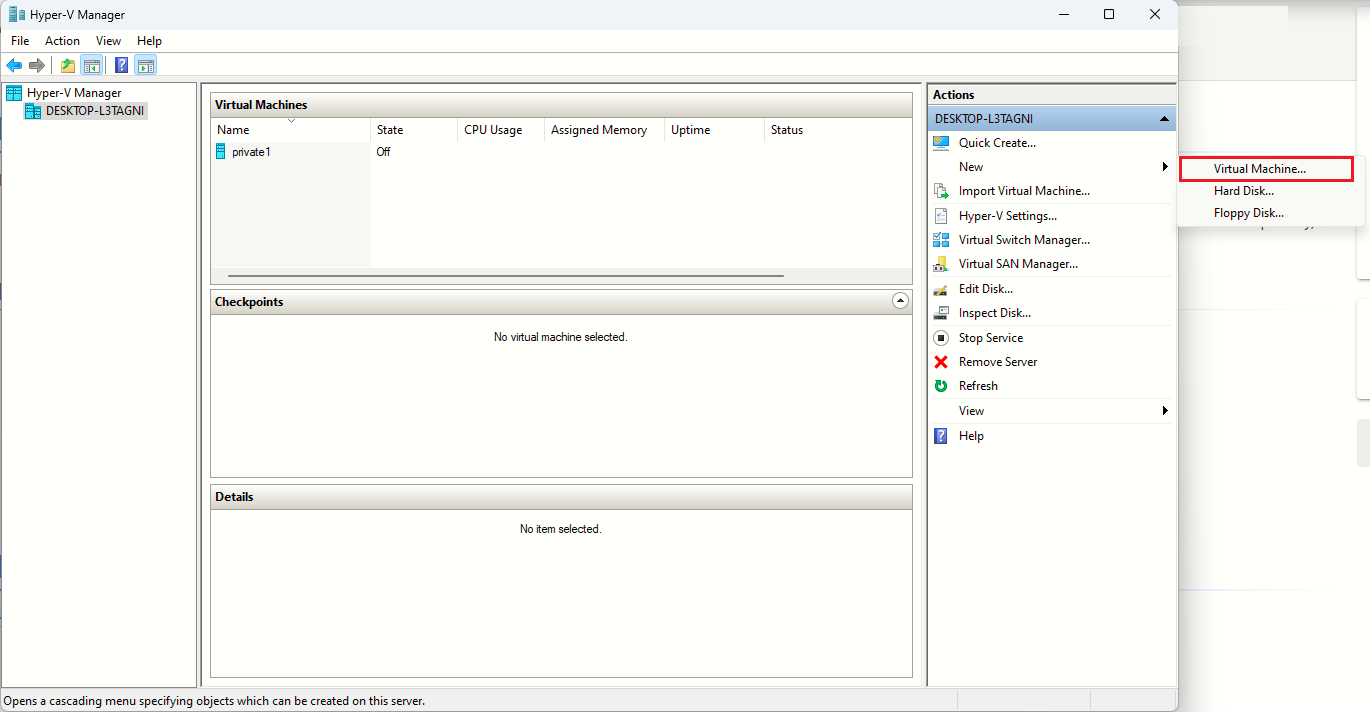
- Open Hyper-V Manager UI and click on New
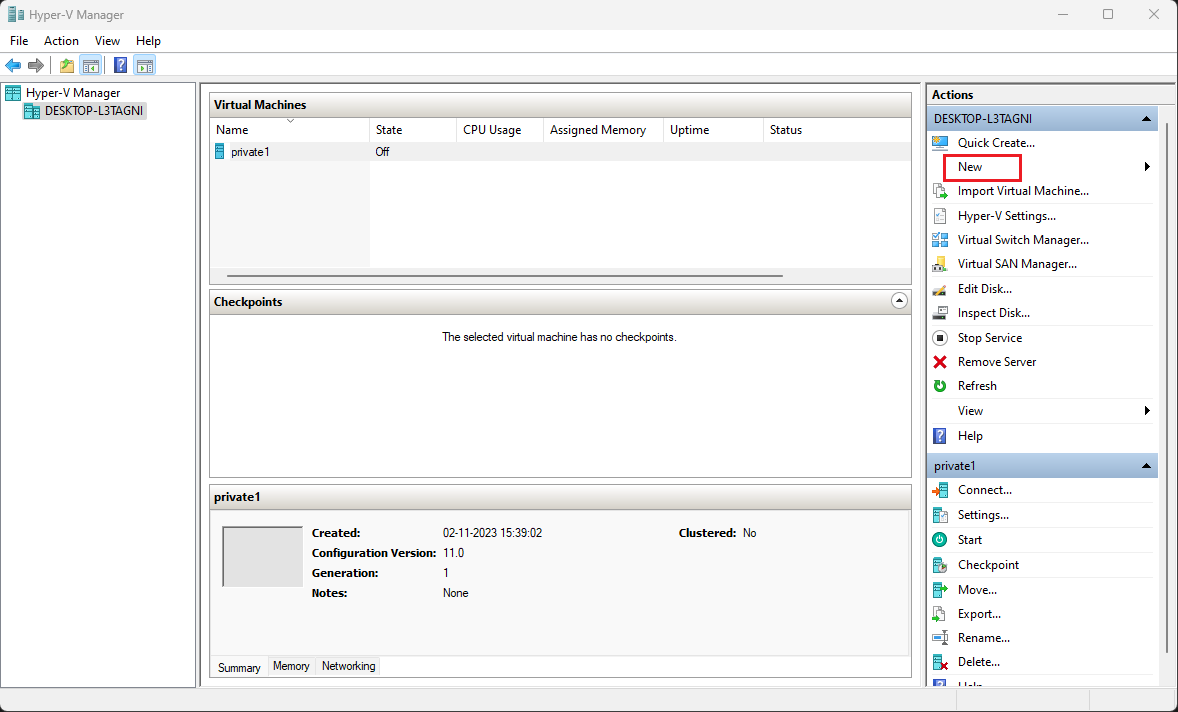
- Click on Virtual Machine…
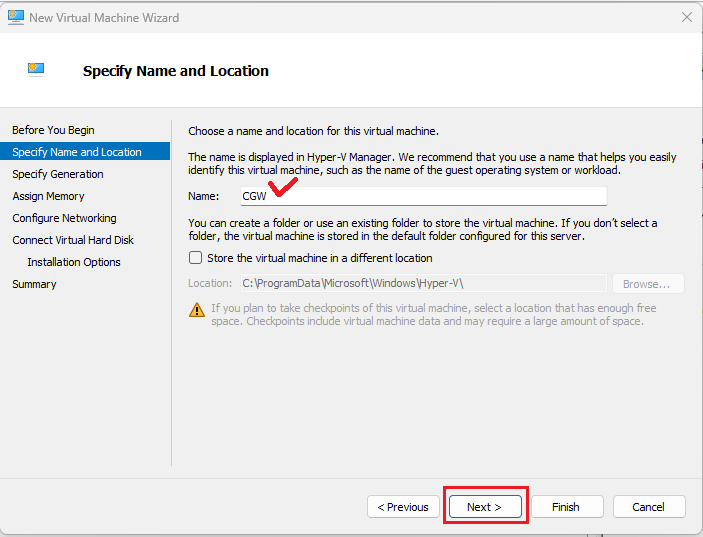
- Specify VM Name and click on Next
- Select Generation 1 and click on Next

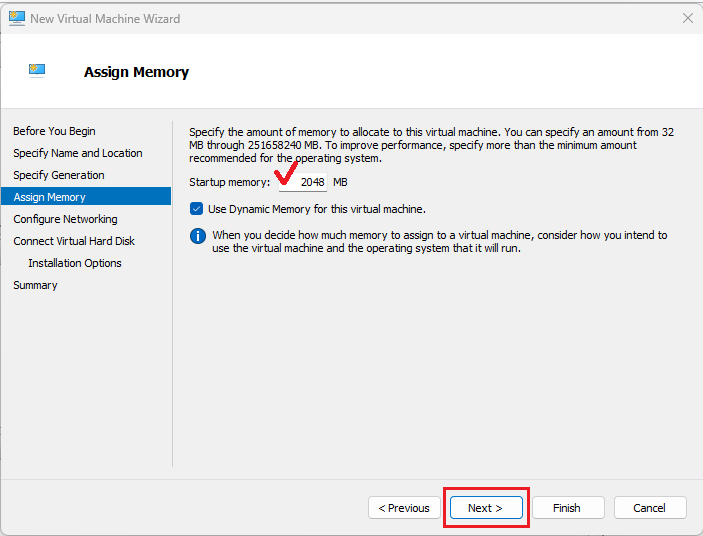
- Specify Memory [minimum 2GB] and click on Next
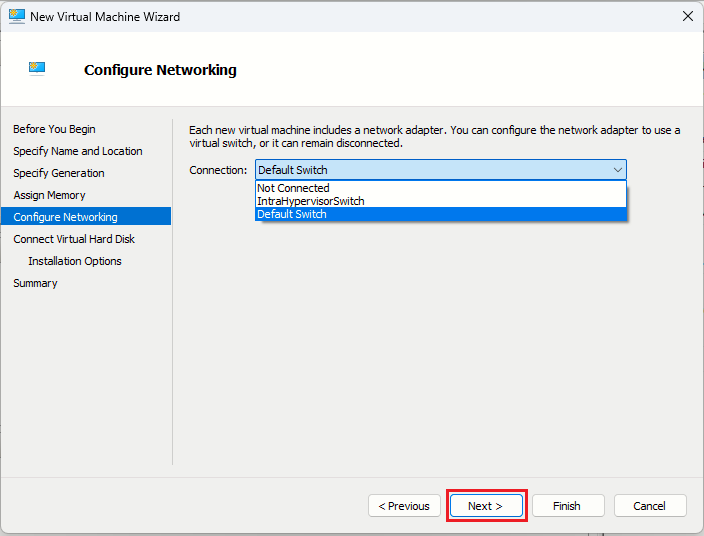
- Configure Networking, by selecting Connection.
Select network which provides access to Internet, this will become primary interface for WAN connectivity.
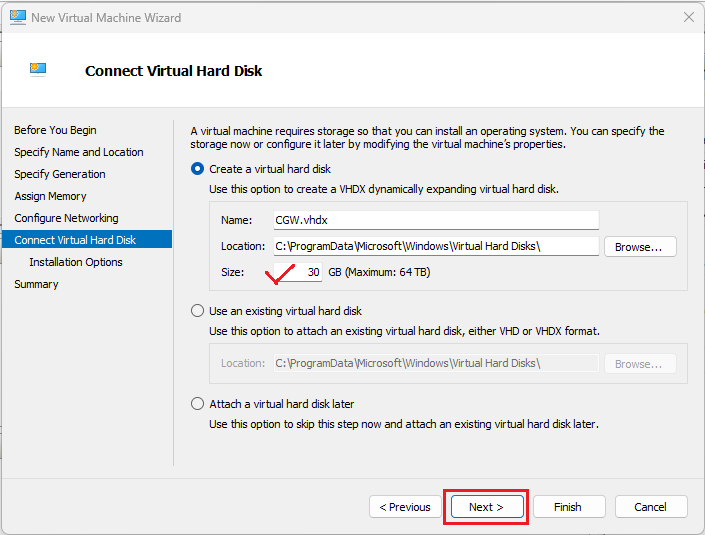
- Specify Hard Disk Size [minimum 30GB] and click on Next
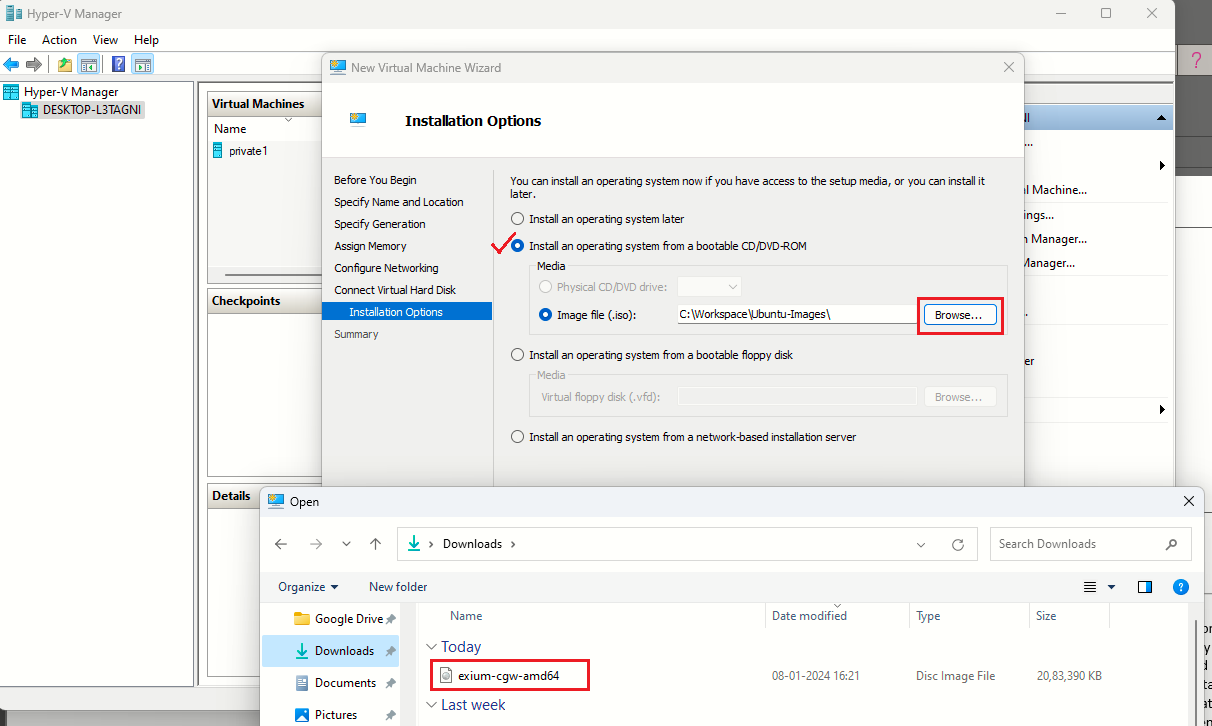
- Select Installation Media. Click on Browse and navigate to path where the ISP is downloaded
- Select the ISO which was downloaded previously in first step. Click on Next
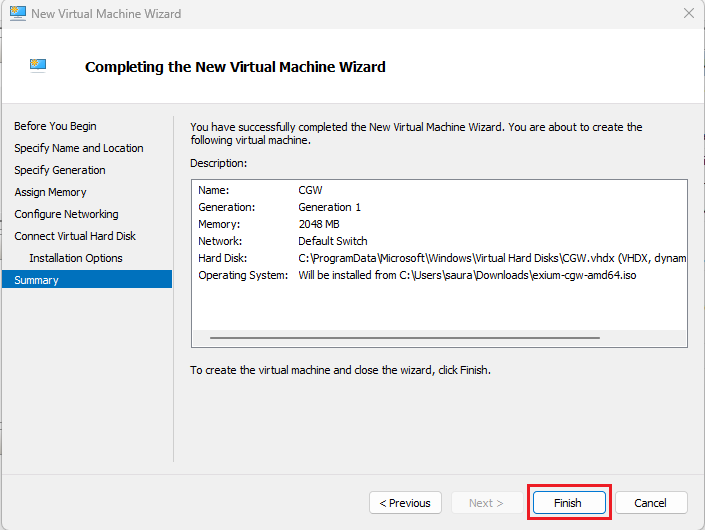
- Verify VM summary and click on Finish
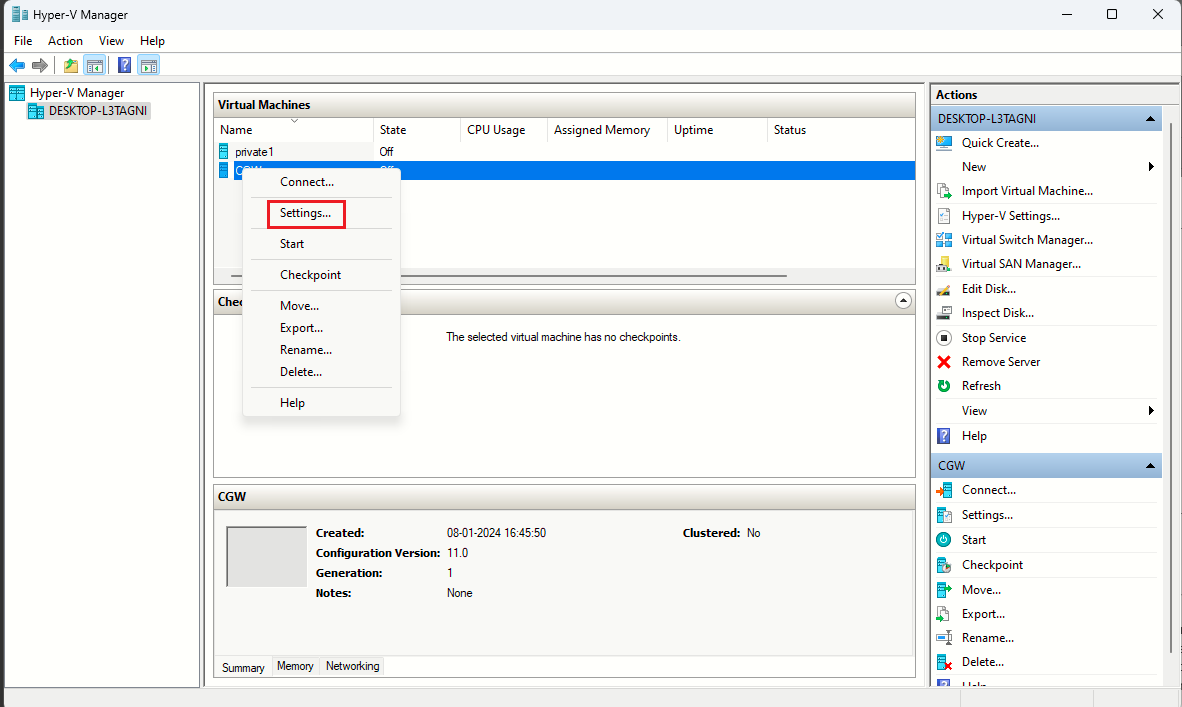
- From Hyper-V UI, select the CGW VM, right click and select Settings…
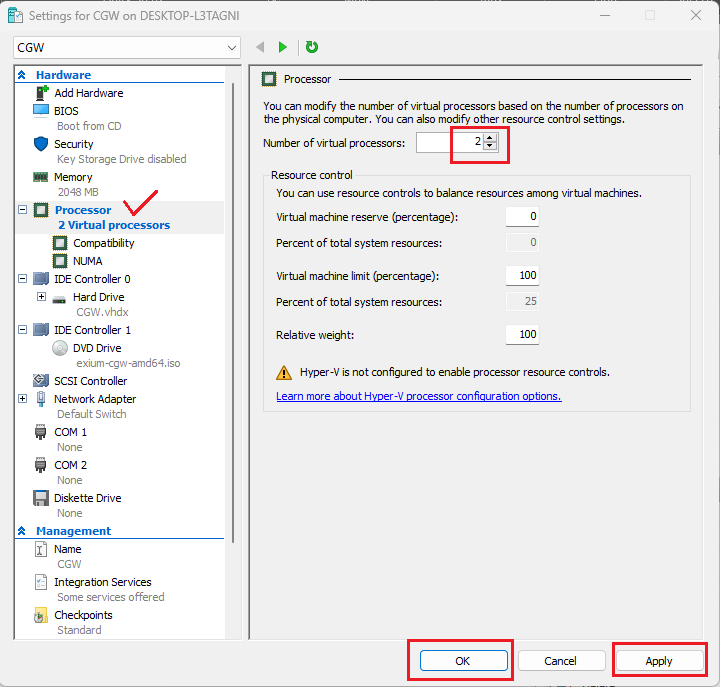
- Select Processor and specify no. of CPU or processors [minimum 2]
- Click on Apply and OK
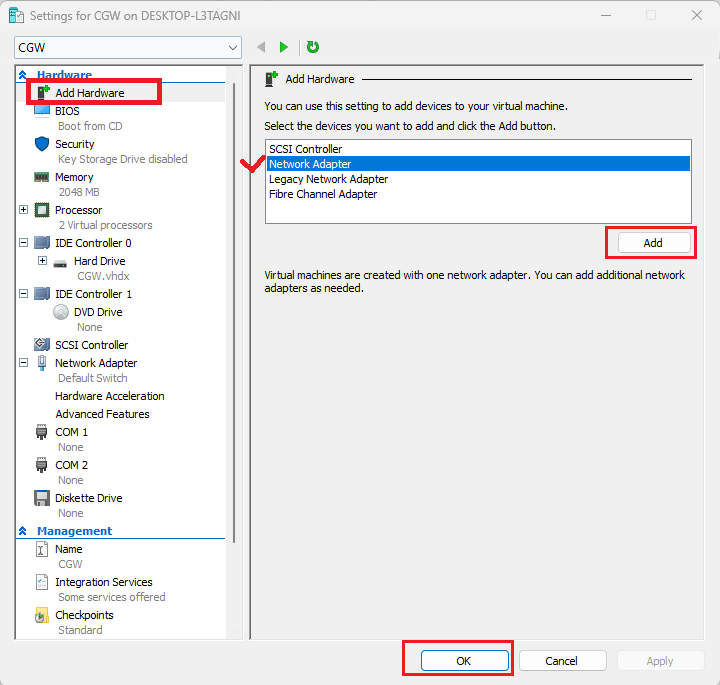
- Configure LAN interface by accessing VM Settings…
- Click on Add Hardware
- Select Network Adapter and click on Add
- Click on OK to complete
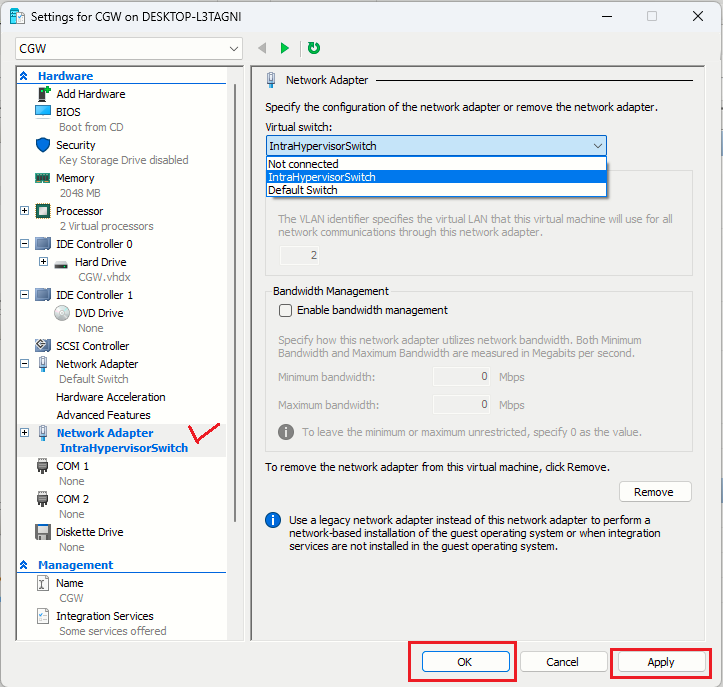
- Select newly added network Adapter and from drop down list, select the network which will provide access to private/LAN resources.
- Click on Apply and OK to finish the configuration
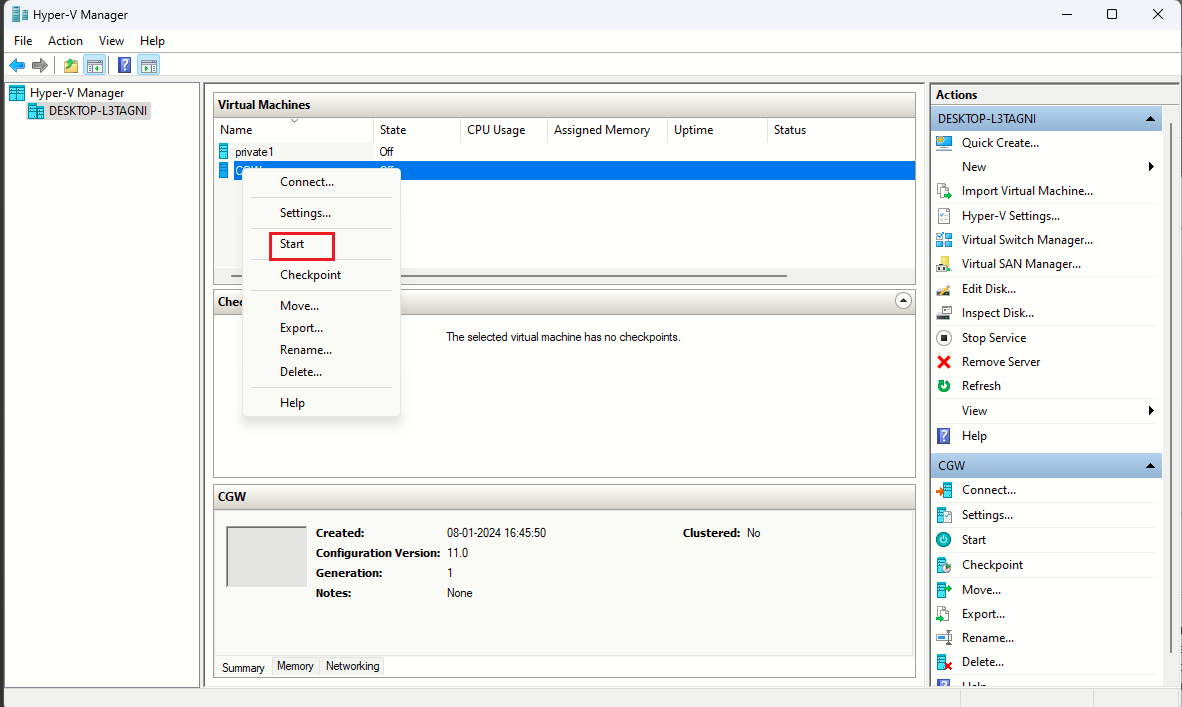
- On Hyper-V UI, select CGW VM, right client and click on Start to power on
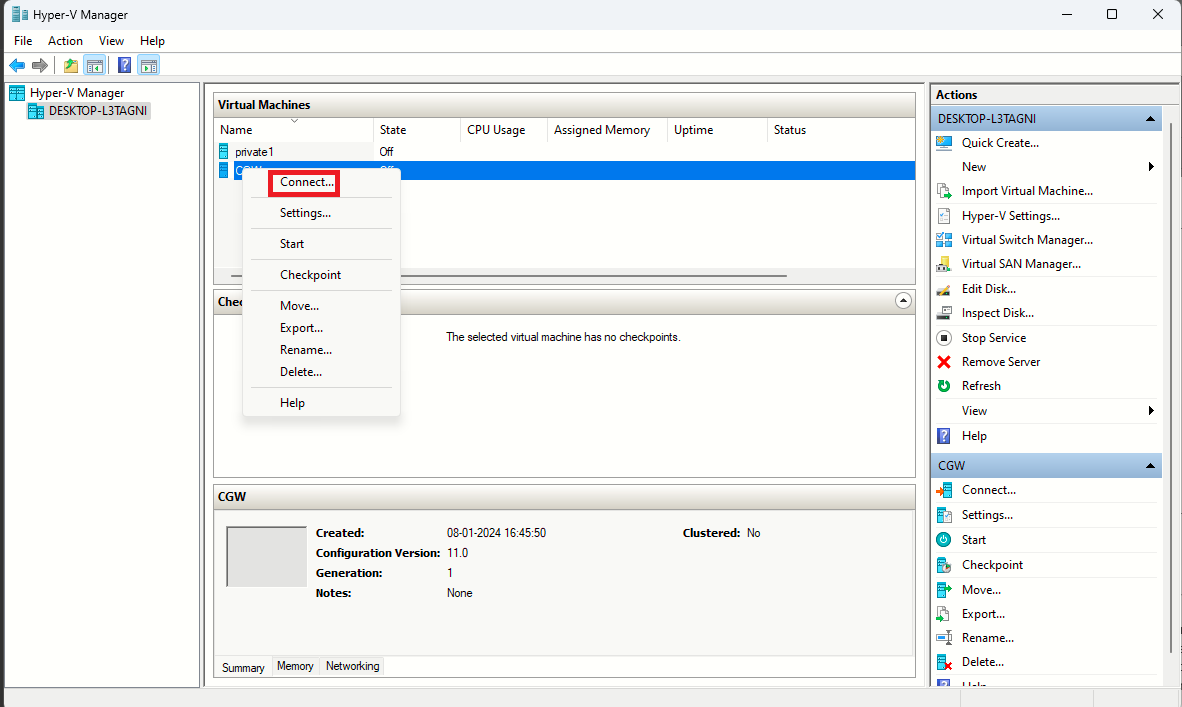
- Connect to CGW VM
- On Hyper-V UI, select VM, right click and select Connect option
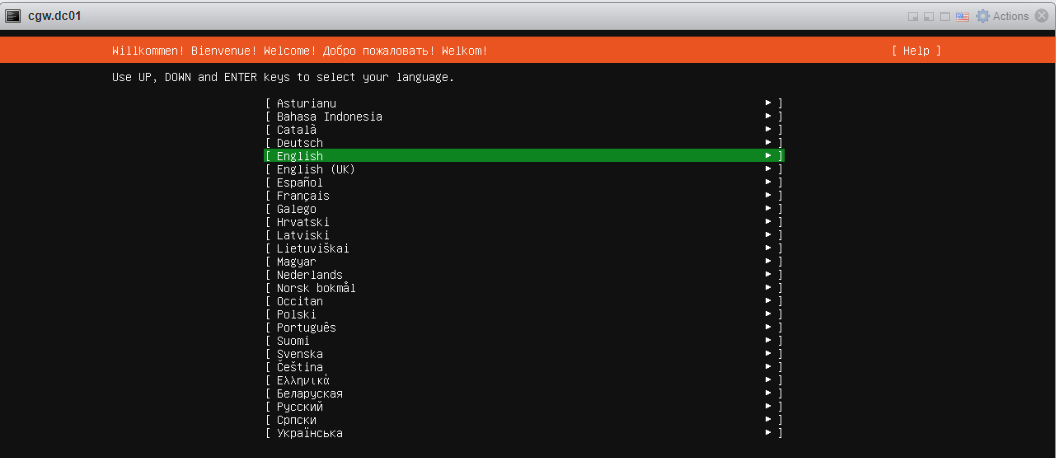
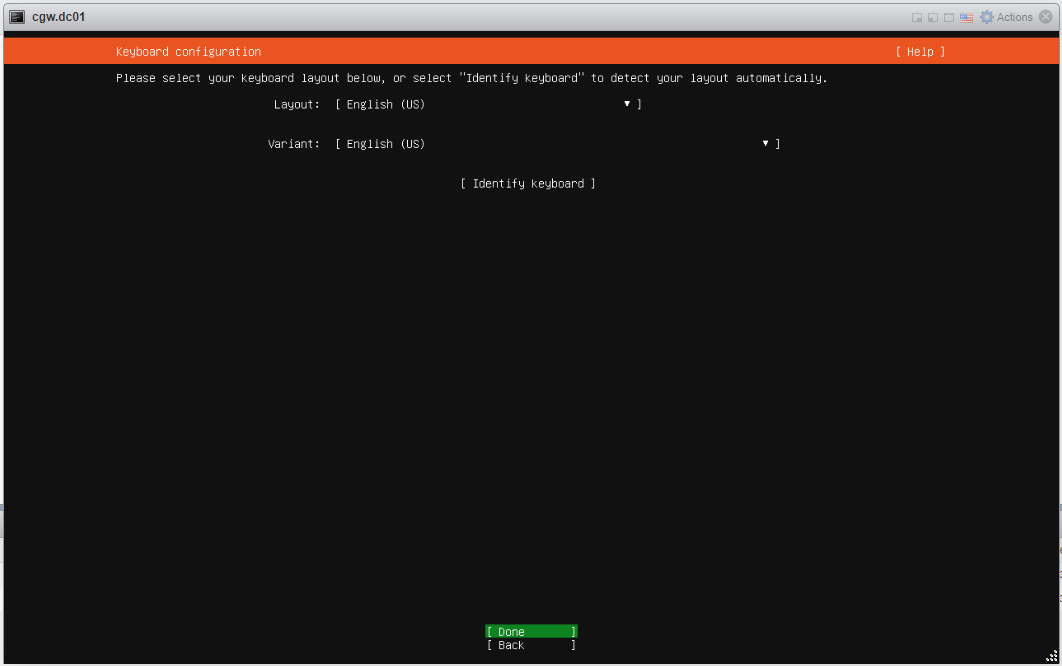
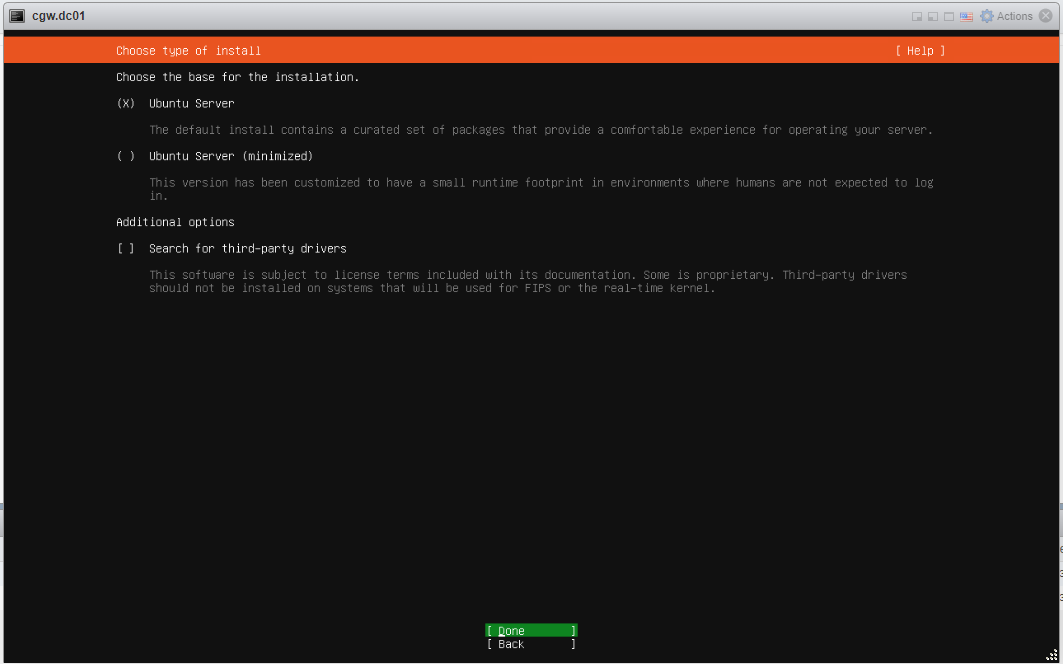
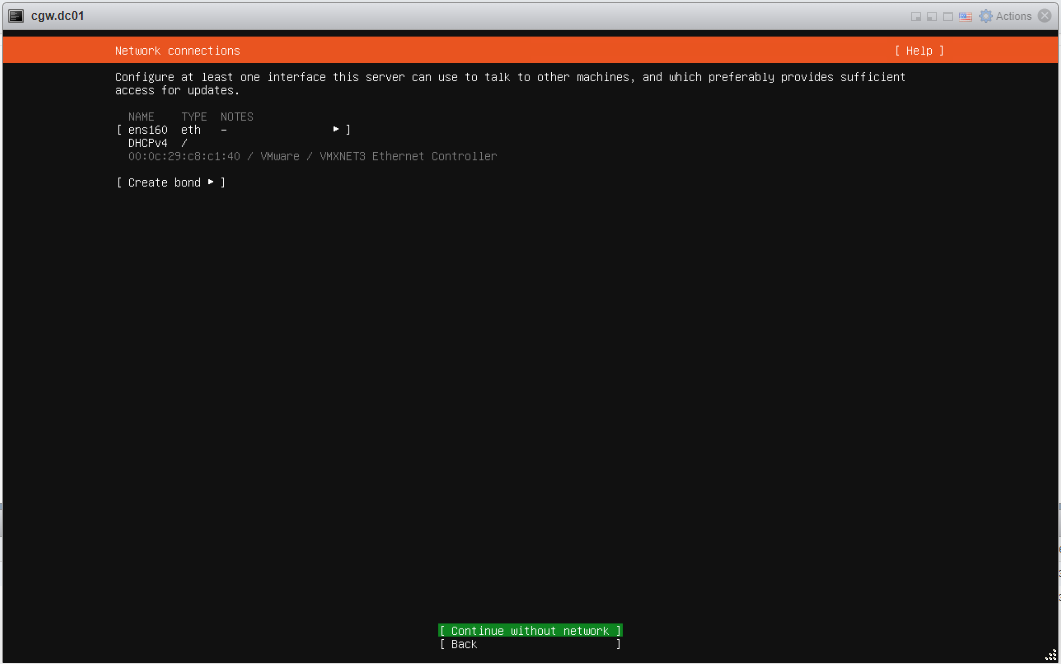
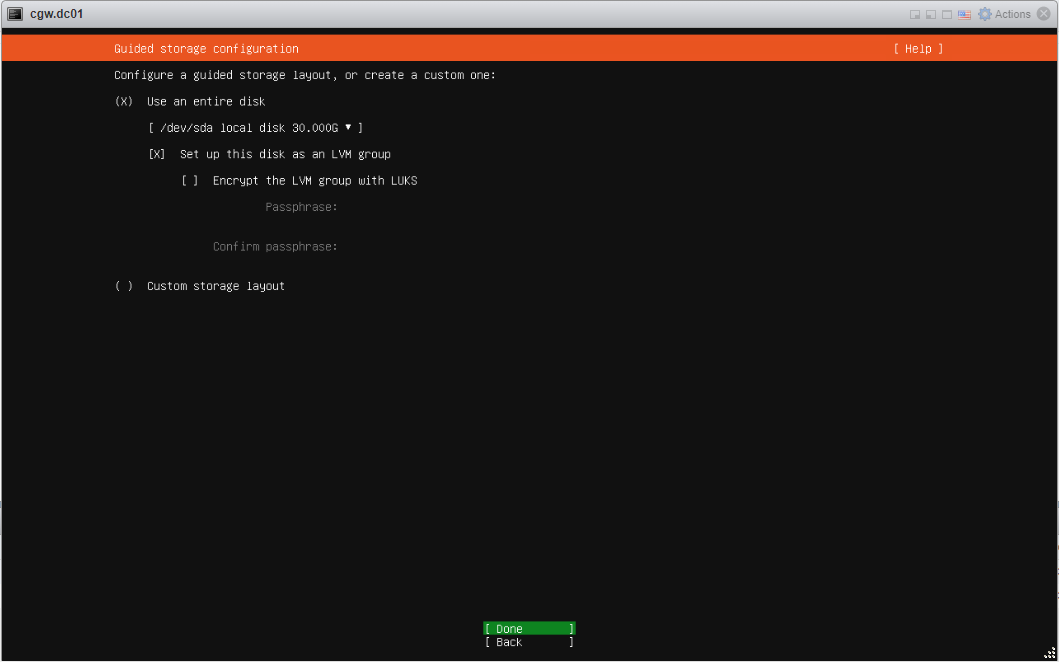
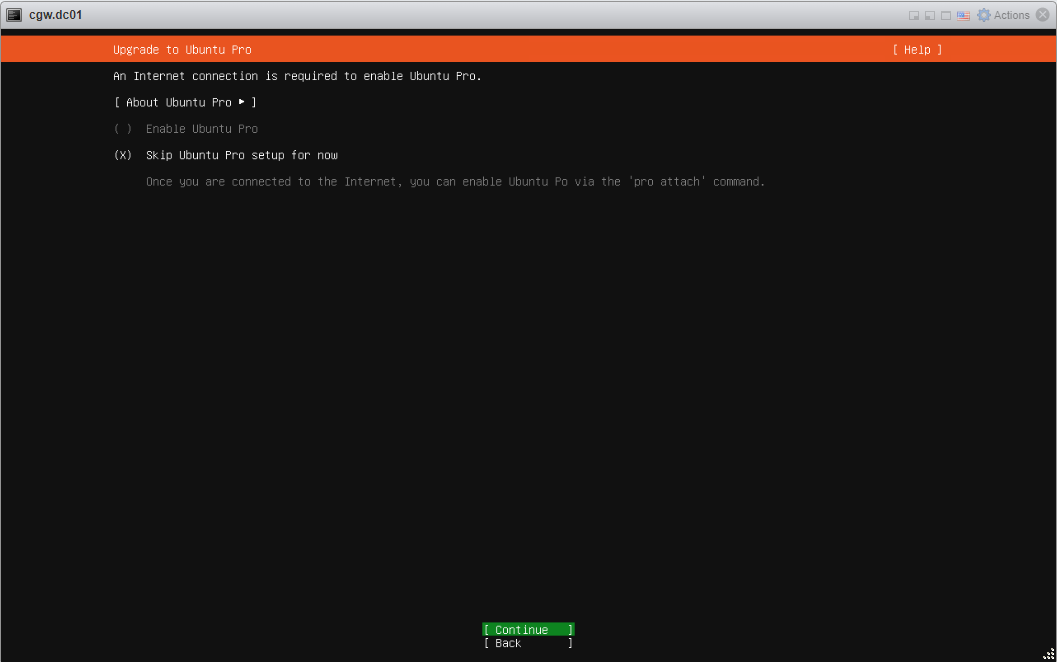
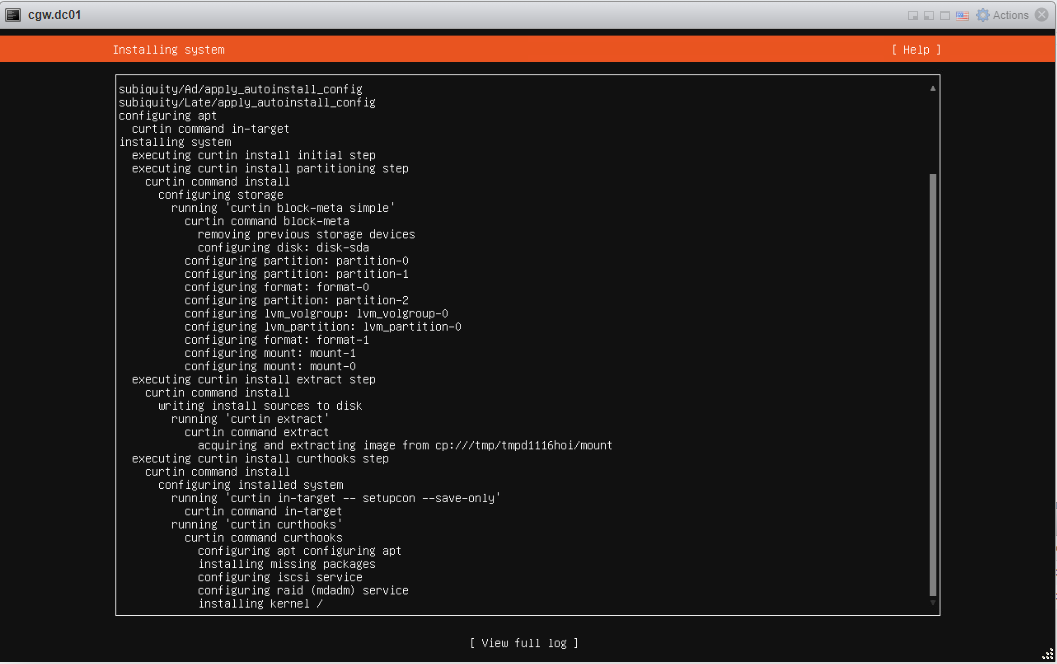
- Follow typical Ubuntu installation steps as UI displays. For reference, all the installation steps can be checked below:
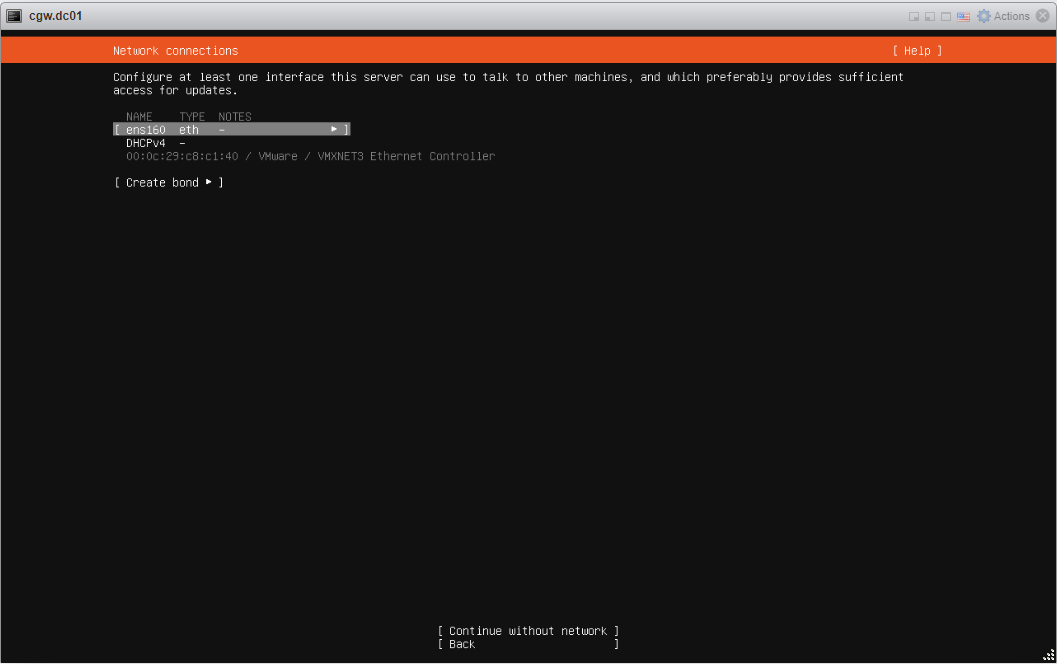
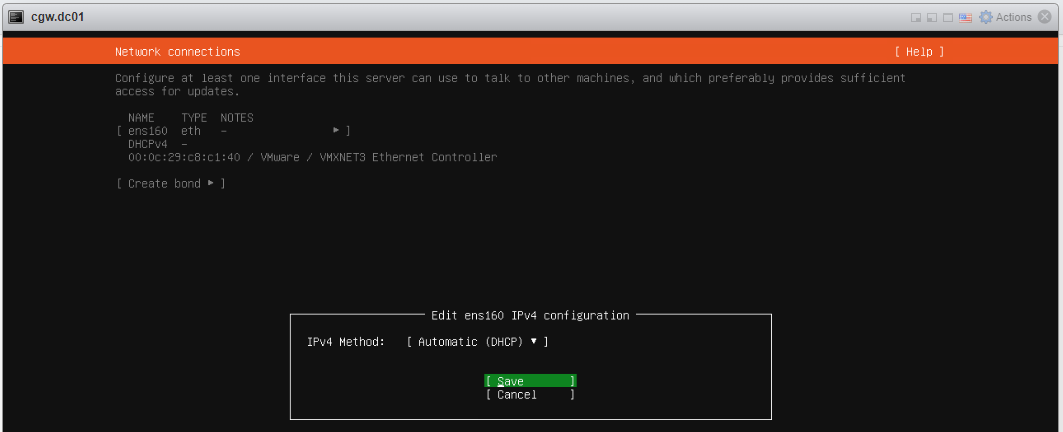
- Select interface Name
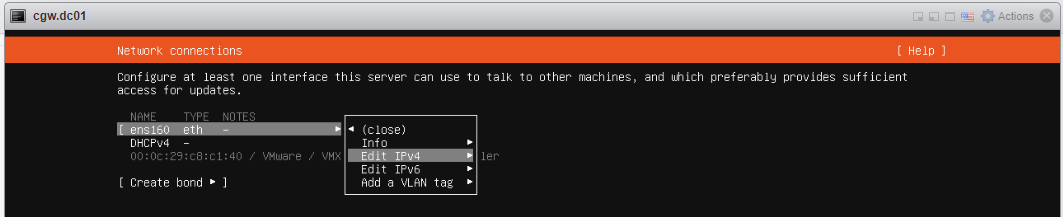
- Press space button to expand
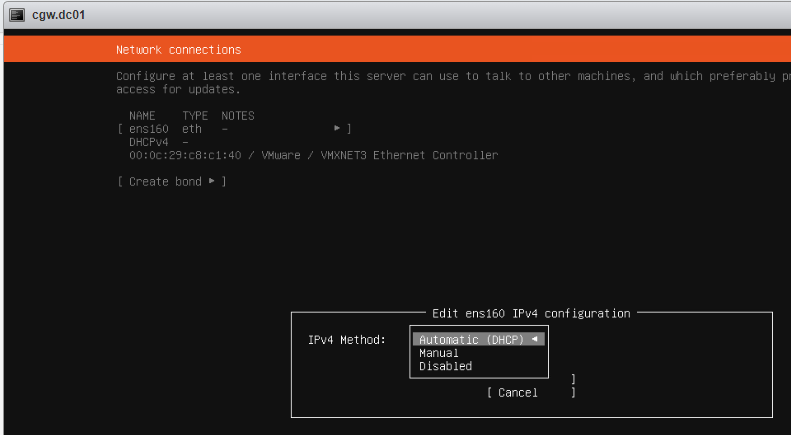
- Select Edit IPv4 and press space button to expand
- If ESXi network provides DHCP IP then select Automatic (DHCP)
- If ESXi network does not provide DHCP IP, then select Manual and configure IP address
- Save configuration and continue


- Provide inputs, and specify username with password
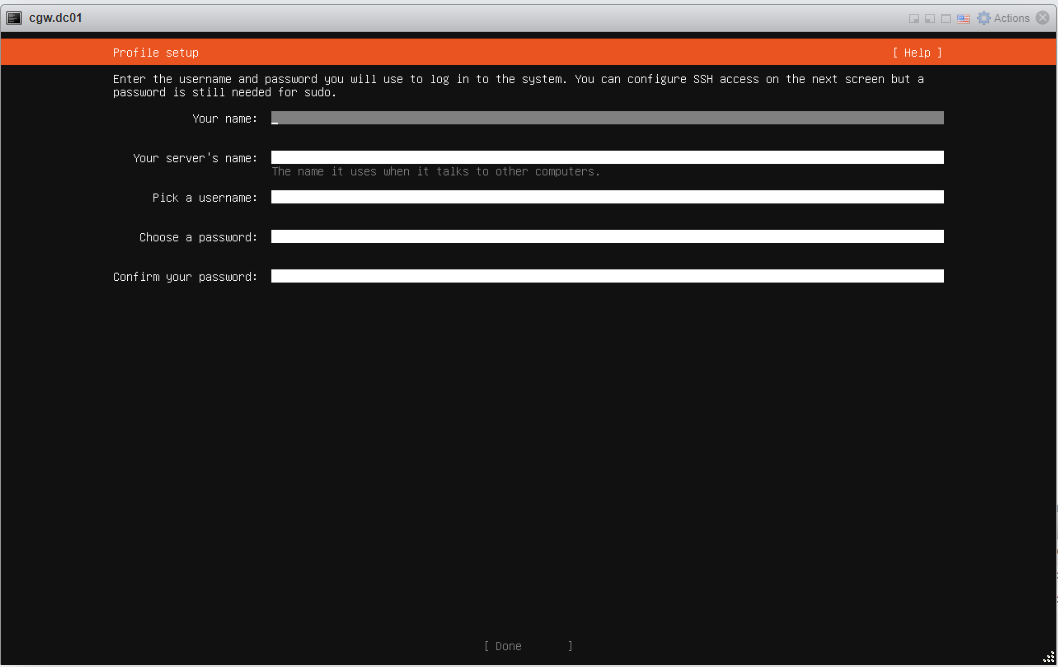
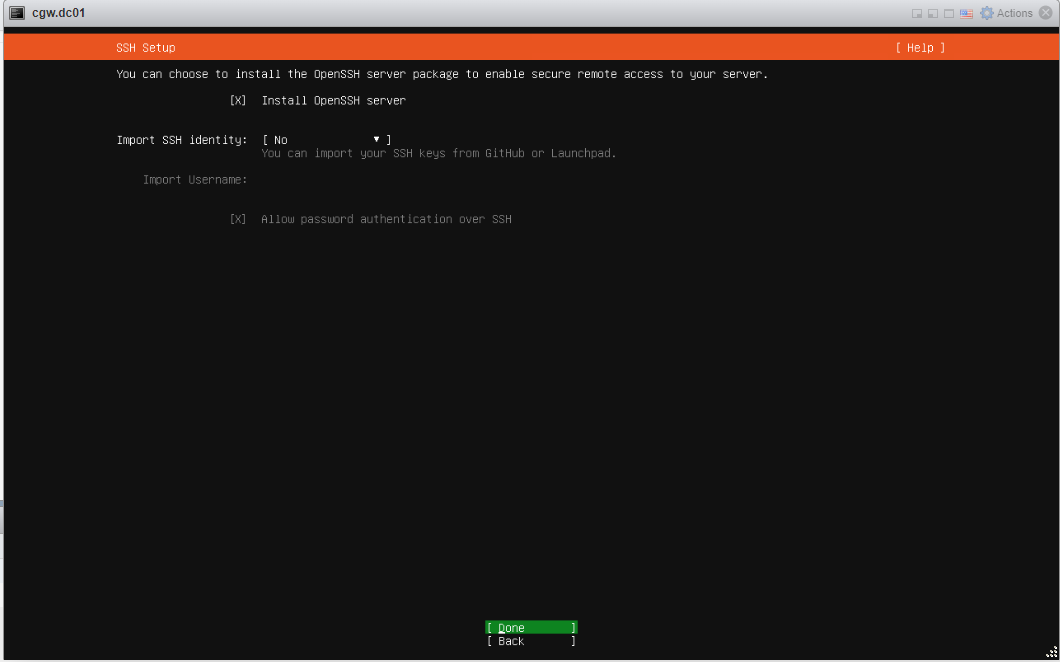
- Select Install Open SSH Server and press Done
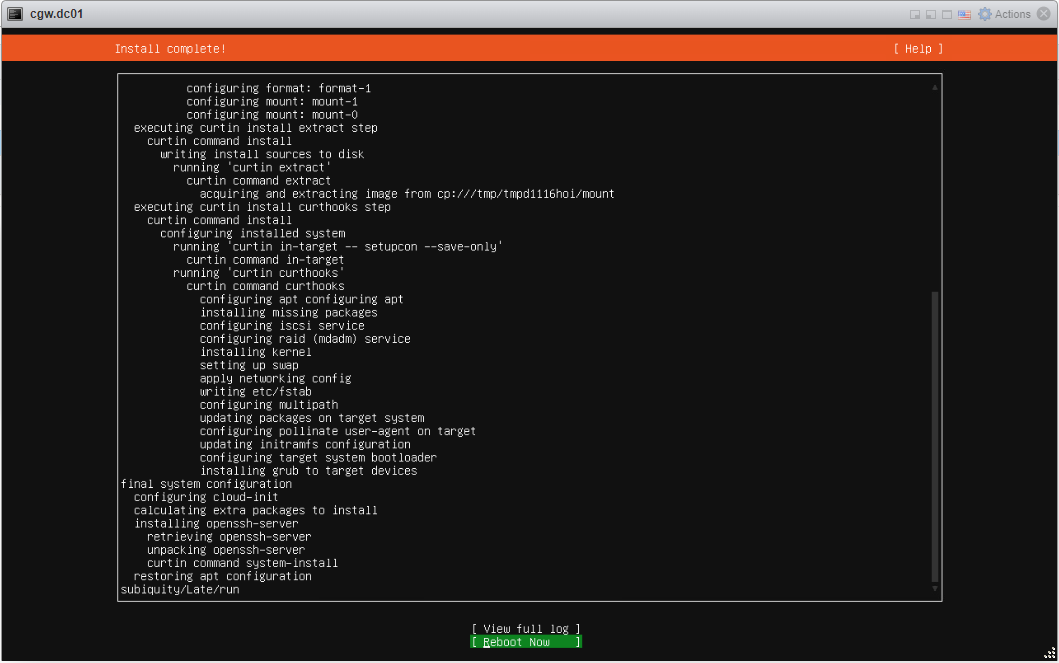
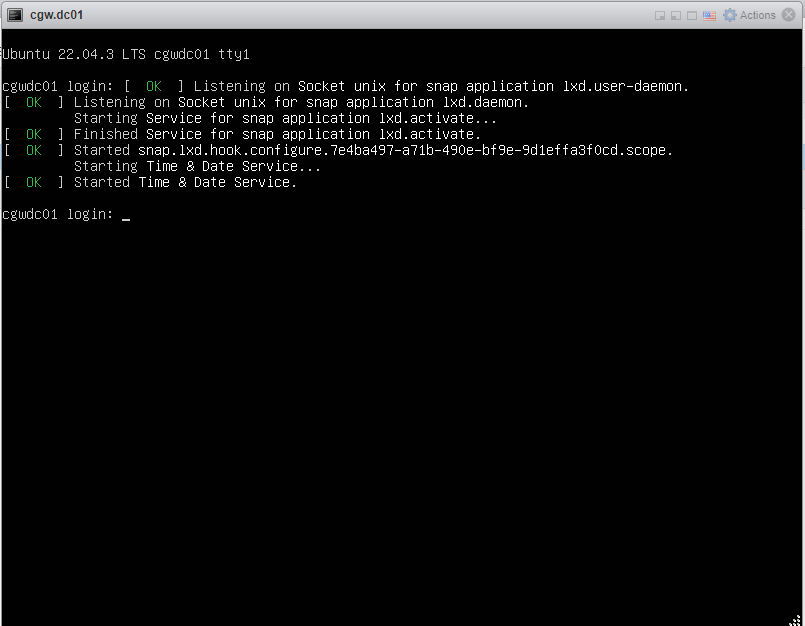
- Press enter on Reboot now, after installation/updates
- Once VM boots, press Enter, when VM console displays Remove installation medium and press enter
- Login to VM using username and password which was created during installation
- After login check VM has an IP address with DHCP or manual configuration [Use ip addr command to check configuration]
- Check WAN connectivity [Use ping 8.8.8.8 and ping google.com]
- In case DNS resolution fails, add nameservers 8.8.8.8 entry in /etc/resolv.conf and try ping google.com again
- Check internal/private application servers on the LAN are accessible from the VM.
- Ping internal/private application server IP to verify connectivity
Internet / WAN connectivity is required to install CGW software and connect it to Cyber Mesh
- SSH to CGW VM IP, which will be required to copy command on VM terminal
¶ Create a Cyber Gateway
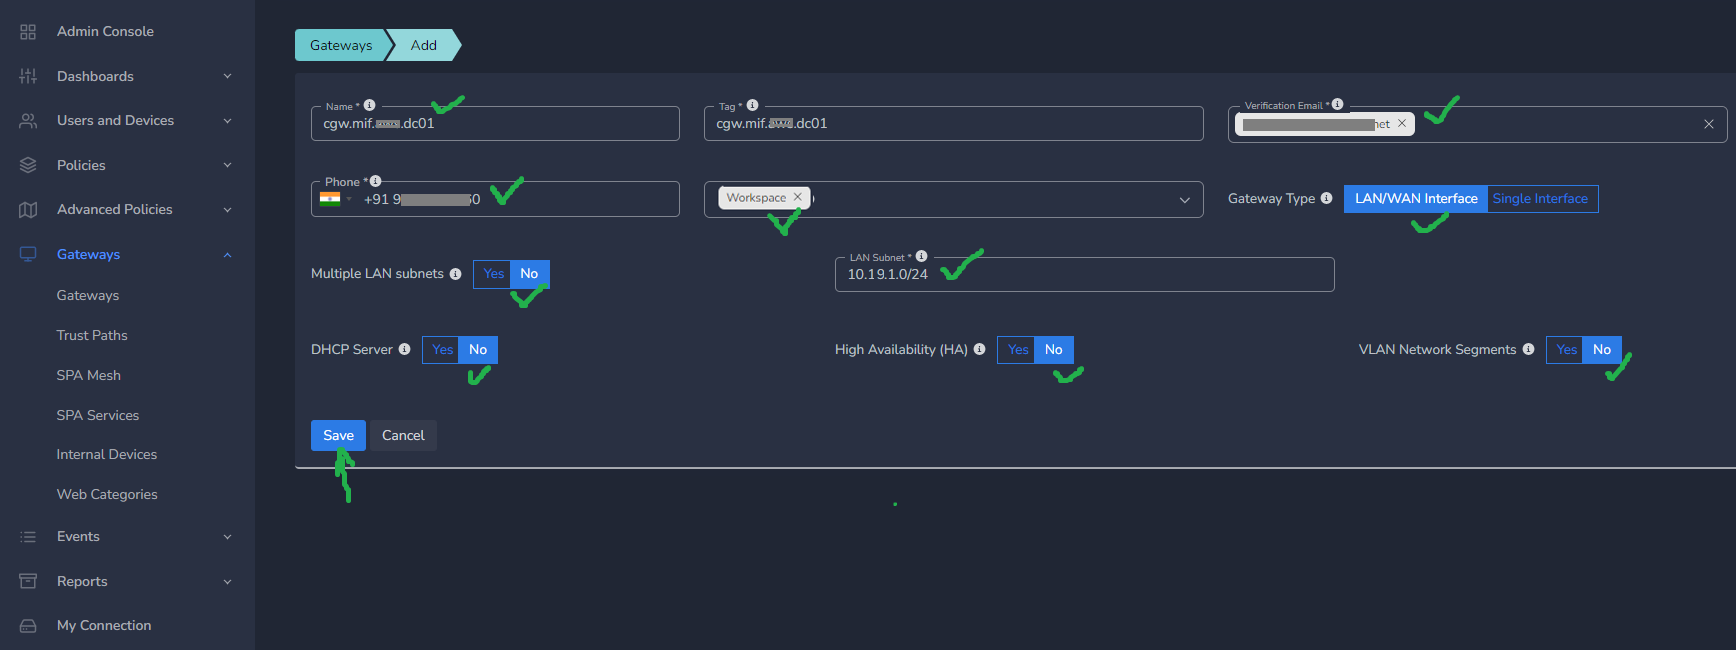
To create a Single-Interfce Cyber Gateway (CGW-SIF), follow the steps below.
- Navigate to the MSP admin console -> Client Workspace
- Click on Gateways in the left menu bar → Add Gateway
- Make sure LAN/WAN Interface is selected
- Enter a name for the cyber gateway, admin email and phone number
- Specify the LAN Subnet, this is the subnet that you like to remotely access in the AWS cloud
- Select Allowed User Groups (you can give access to the whole organization or a select group)
- Mark DHCP Server with No. Mark HA and VLAN Network Segments as per requirements. [Recommended is no if they are not being used]
- Click Update
¶ Deploy the Cyber Gateway
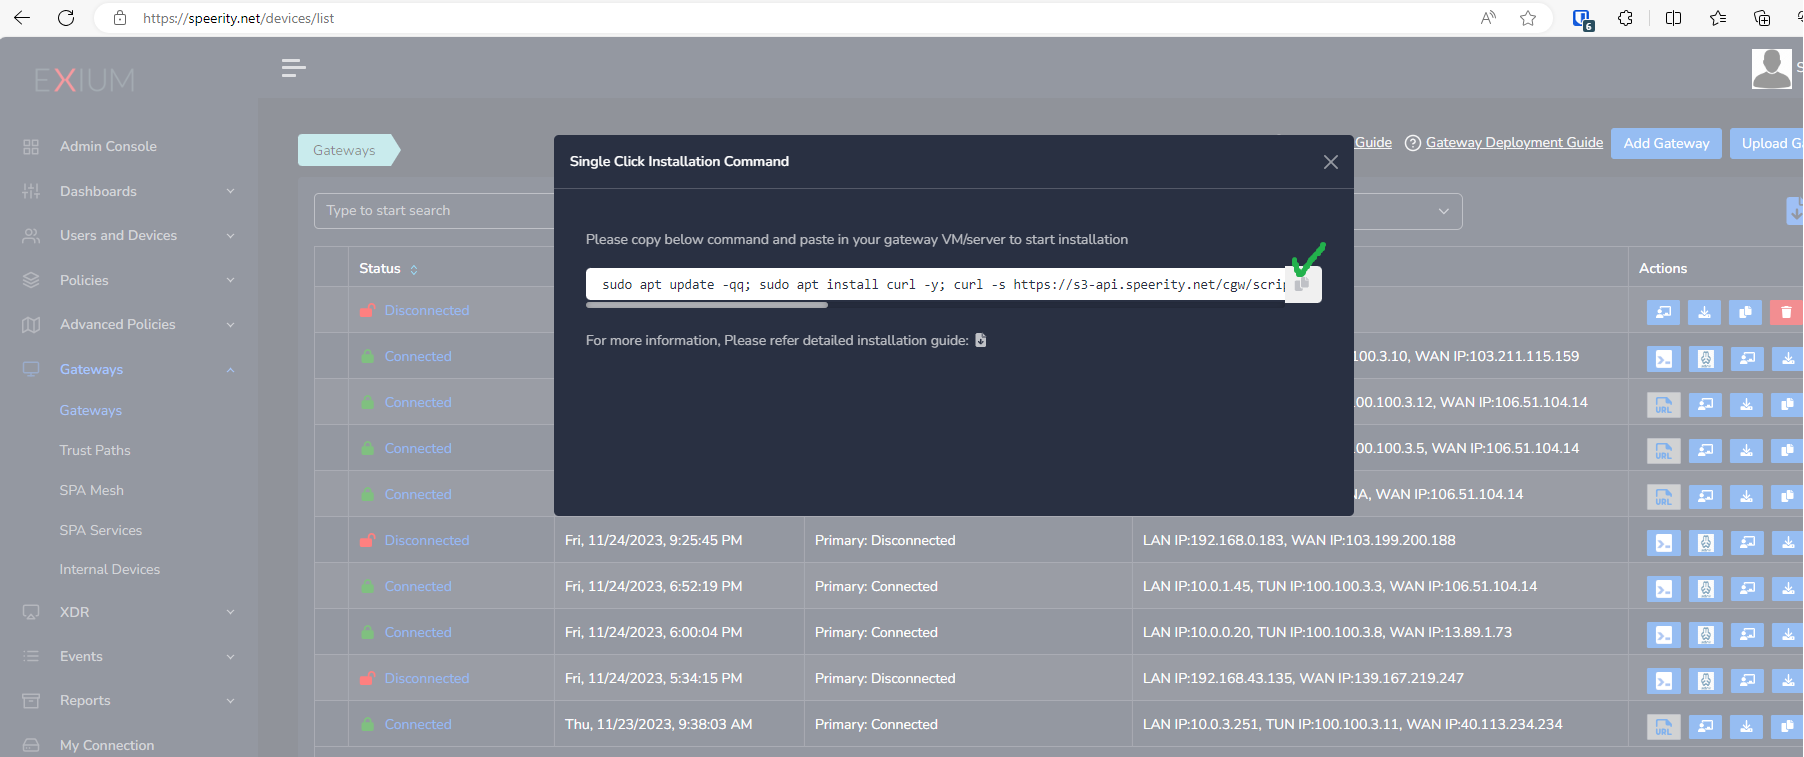
- Copy the Script for the cyber gateway you just created as shown in the screenshot below
- Paste the Script in the VM SSH console
- Press Enter
In case, you are unable to login to machine using SSH to copy and run CGW install command, then we recommend you to run pre-install script mentioned below. You have to type it on console, because copy paste won't work on some direct machine consoles.
bash <(curl -s https://s3-api.speerity.net/cgw/scripts/cgwctl.sh)Please share Workspace and CGW names with us on support@exium.net. We will push installation remotely.
The Cyber gateway deployment will start. At this time, you can leave the deployment running unattended. You will receive an email on the admin email that you specified earlier when the deployment is complete. You can also check the status of the cyber gateway in the Exium admin console. When cyber gateway is deployed successfully and connected, you will see a Green Connected Status as in the screenshot below.

Once the cyber gateway is deployed successfully and connected, you can start testing the Zero Trust Secure Private Access policies.
¶ CyberGateway WAN Interface with External Switch
Sometimes it is observed that DefaultSwitch used for WAN connectivity on CyberGateway VM gets into issue while communicating to Exium SASE cloud. It mostly happens due to NAT which is by default enabled on DefaultSwitch.
You can create another External Switch and associate it with existing CyberGateway VM's WAN interface to resolve the issue by following below steps:
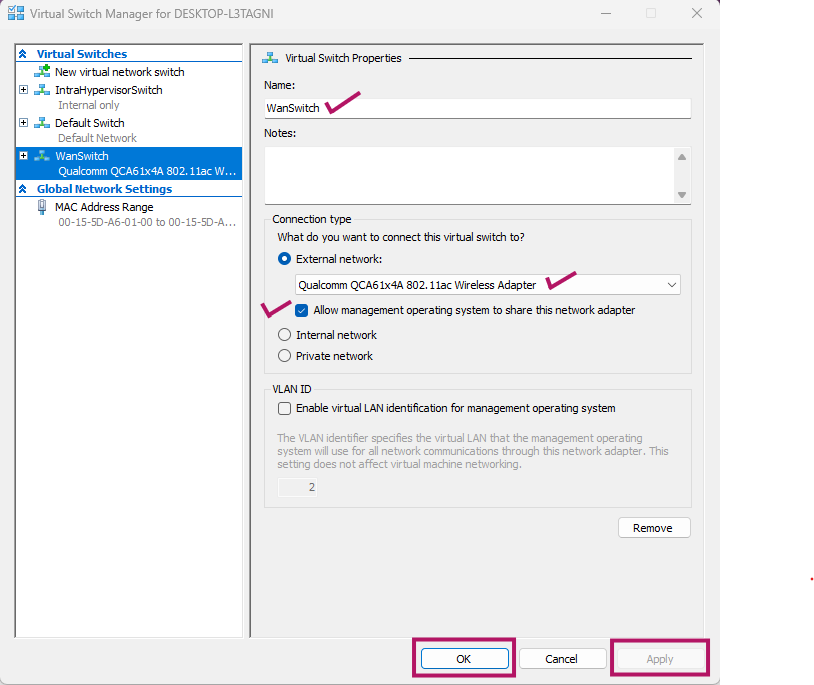
- Open Hyper-V Manager UI and click on Virtual Switch Manager
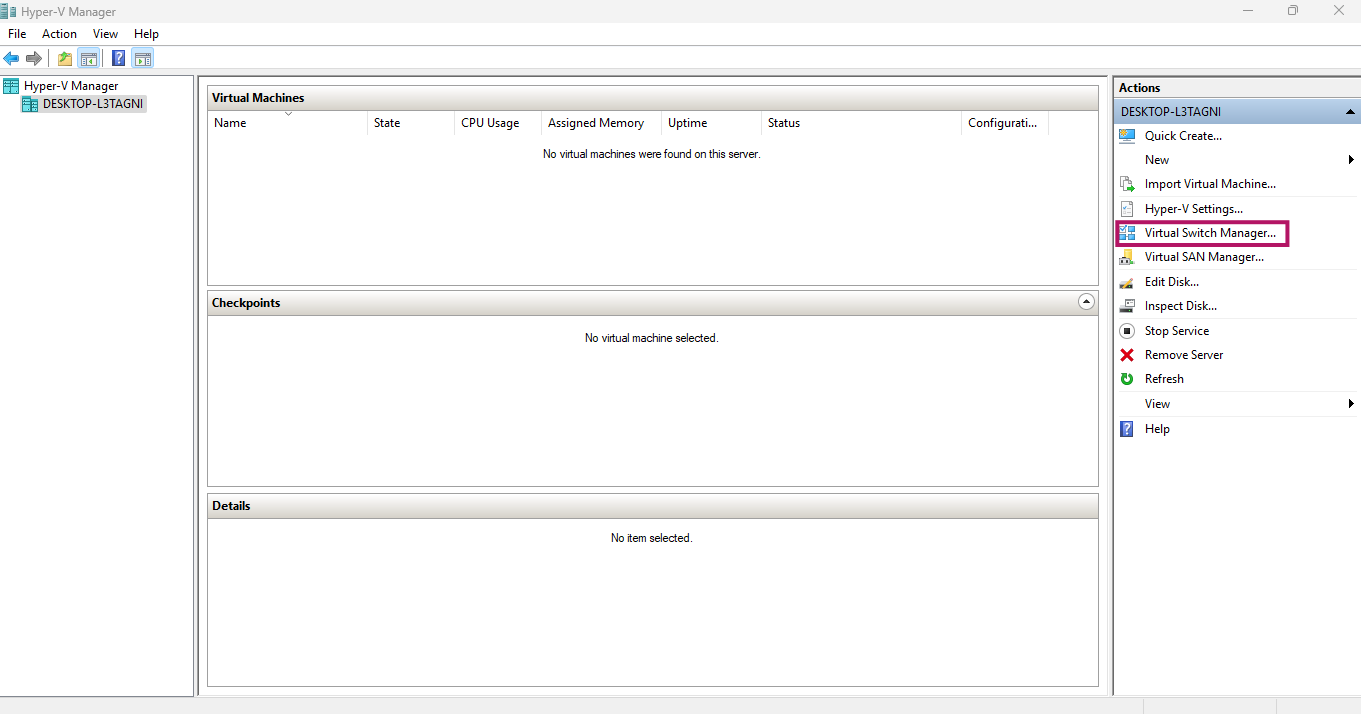
- On Virtual Switch Manager UI, click on New virtual network switch
- On Crete virtual switch section, Select External and click on Create Virtual Switch

- Provide name of the external virtual switch (For eg. WanSwitch)
- In Connection type section, select Host network adapter which provide WAN connectivity
- For eg. Wireless or Wireline adapter
- Check box must be enabled which shows Allow management operating system to share this network adapter
- Click on Apply
- Press Yes, on notice window
- Press OK
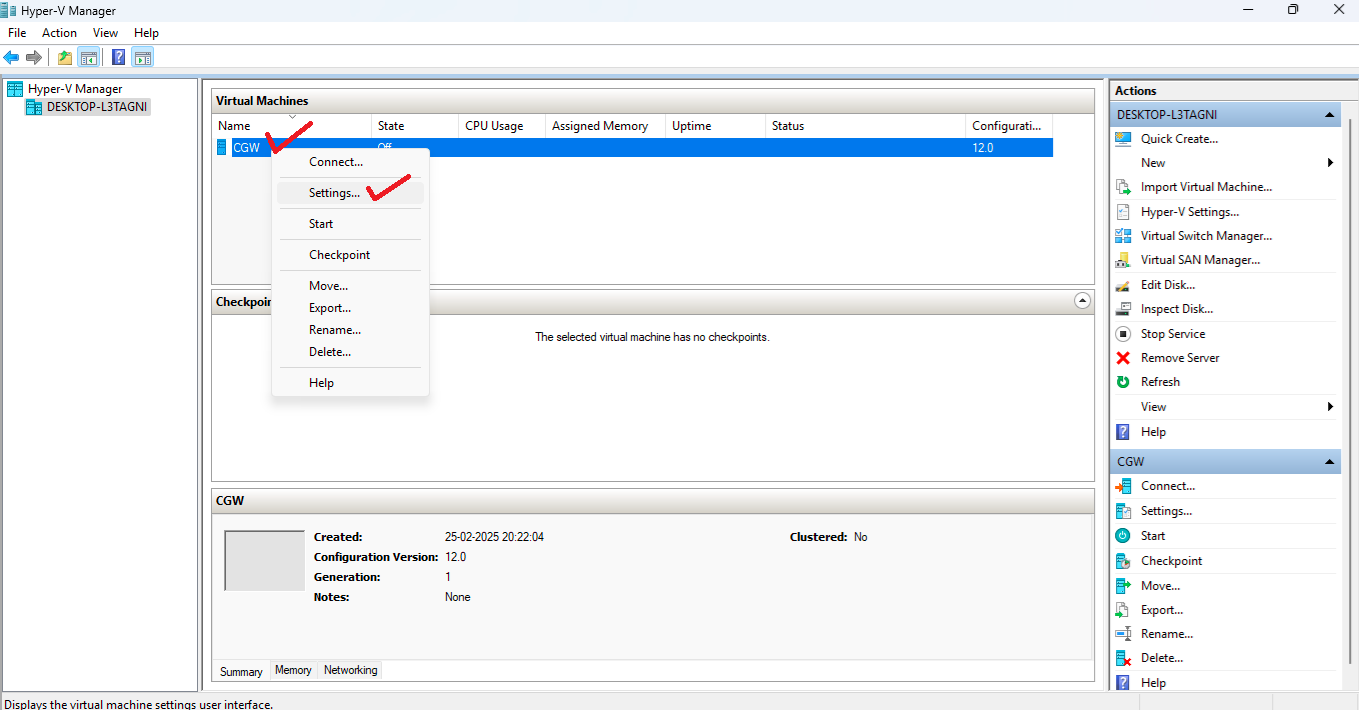
- On Hyper-V Manager UI, select CyberGateway VM, right click and select Settings
- On Settings window, select the Network Adapter which is associated with DefaultSwitch for WAN connectivity
- Select Virtual Switch which is created in above steps
- Click on OK
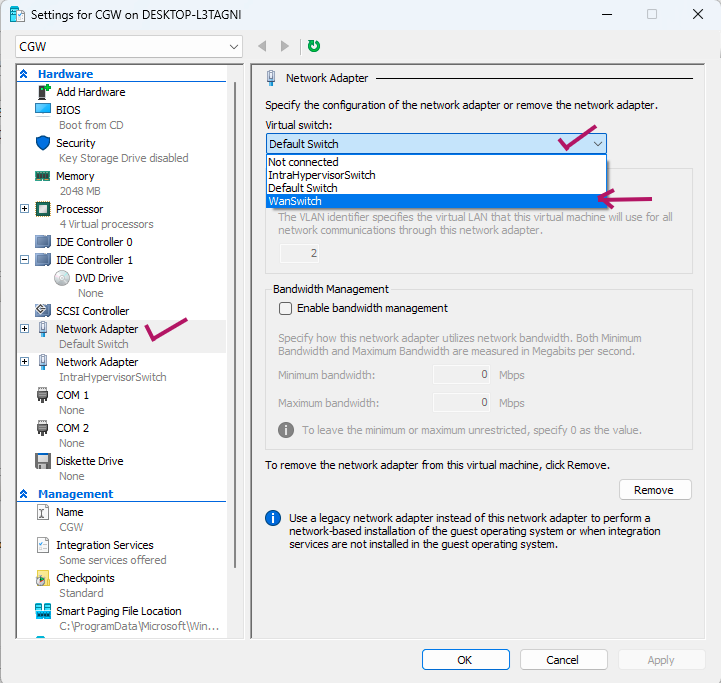
- CyberGateway machine's IP on WAN interface will update and it will get DHCP IP from your router
- Once WAN connectivity restores on CyberGateway, service will reconnect after some time
- Please check use cases from machines behind CGW